You’ve seen the AI videos blowing up on TikTok. You’ve watched someone turn a text prompt into a cinematic clip that looks like it cost thousands. You’ve probably Googled “best AI video generator” and landed on some listicle ranking 18 tools you’ve never heard of.
And now you’re more confused than when you started.
Here’s the problem: there are 15+ AI video tools right now — Veo, Sora, Kling, Runway, Hailuo, Luma, PixVerse, and more launching every month. Every article you find is a tool comparison. Nobody actually tells you how to make the damn video.
This guide is different. We’re walking you through the entire process — from blank page to published video — step by step. No hand-waving. No “just pick a tool and experiment.” You’ll get exact tools, real prompts, actual costs, and a workflow built from what creators are actually doing right now in early 2026.
By the end, you’ll have made your first AI video. Let’s get into it.
Why Most “AI Video Guides” Are Useless
Search for “how to make AI video” and you’ll find two kinds of content:
- Tool comparison listicles. “The 18 Best AI Video Generators in 2026” — great, but which one do I actually use? And then what?
- Tool landing pages. Runway’s marketing tells you Runway is great. Shocking.
What doesn’t exist — and what we’re building here — is a complete workflow guide. The kind of guide where a total beginner can start reading at the top and have a finished, published video by the bottom.
This isn’t a tool review. For that, check our full AI video generator rankings. This is the playbook.
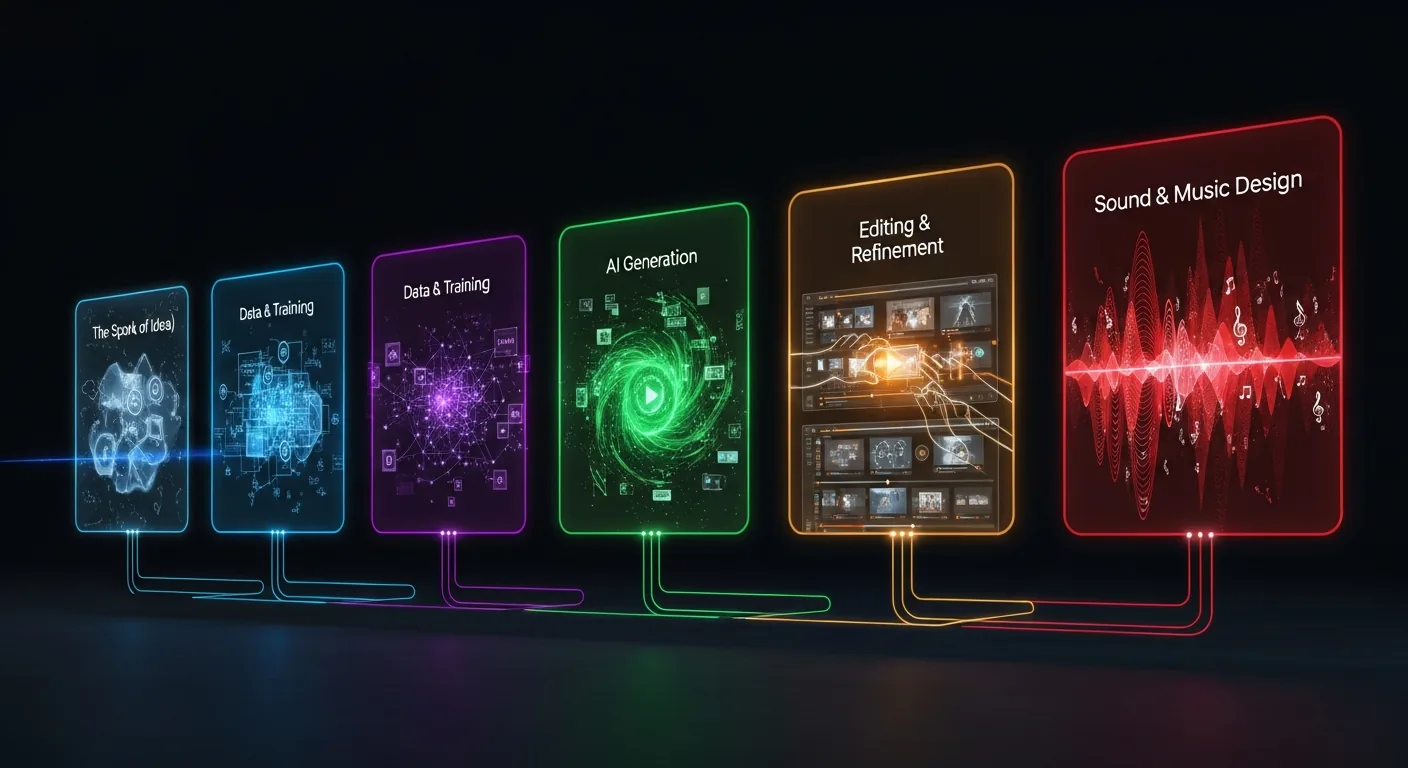
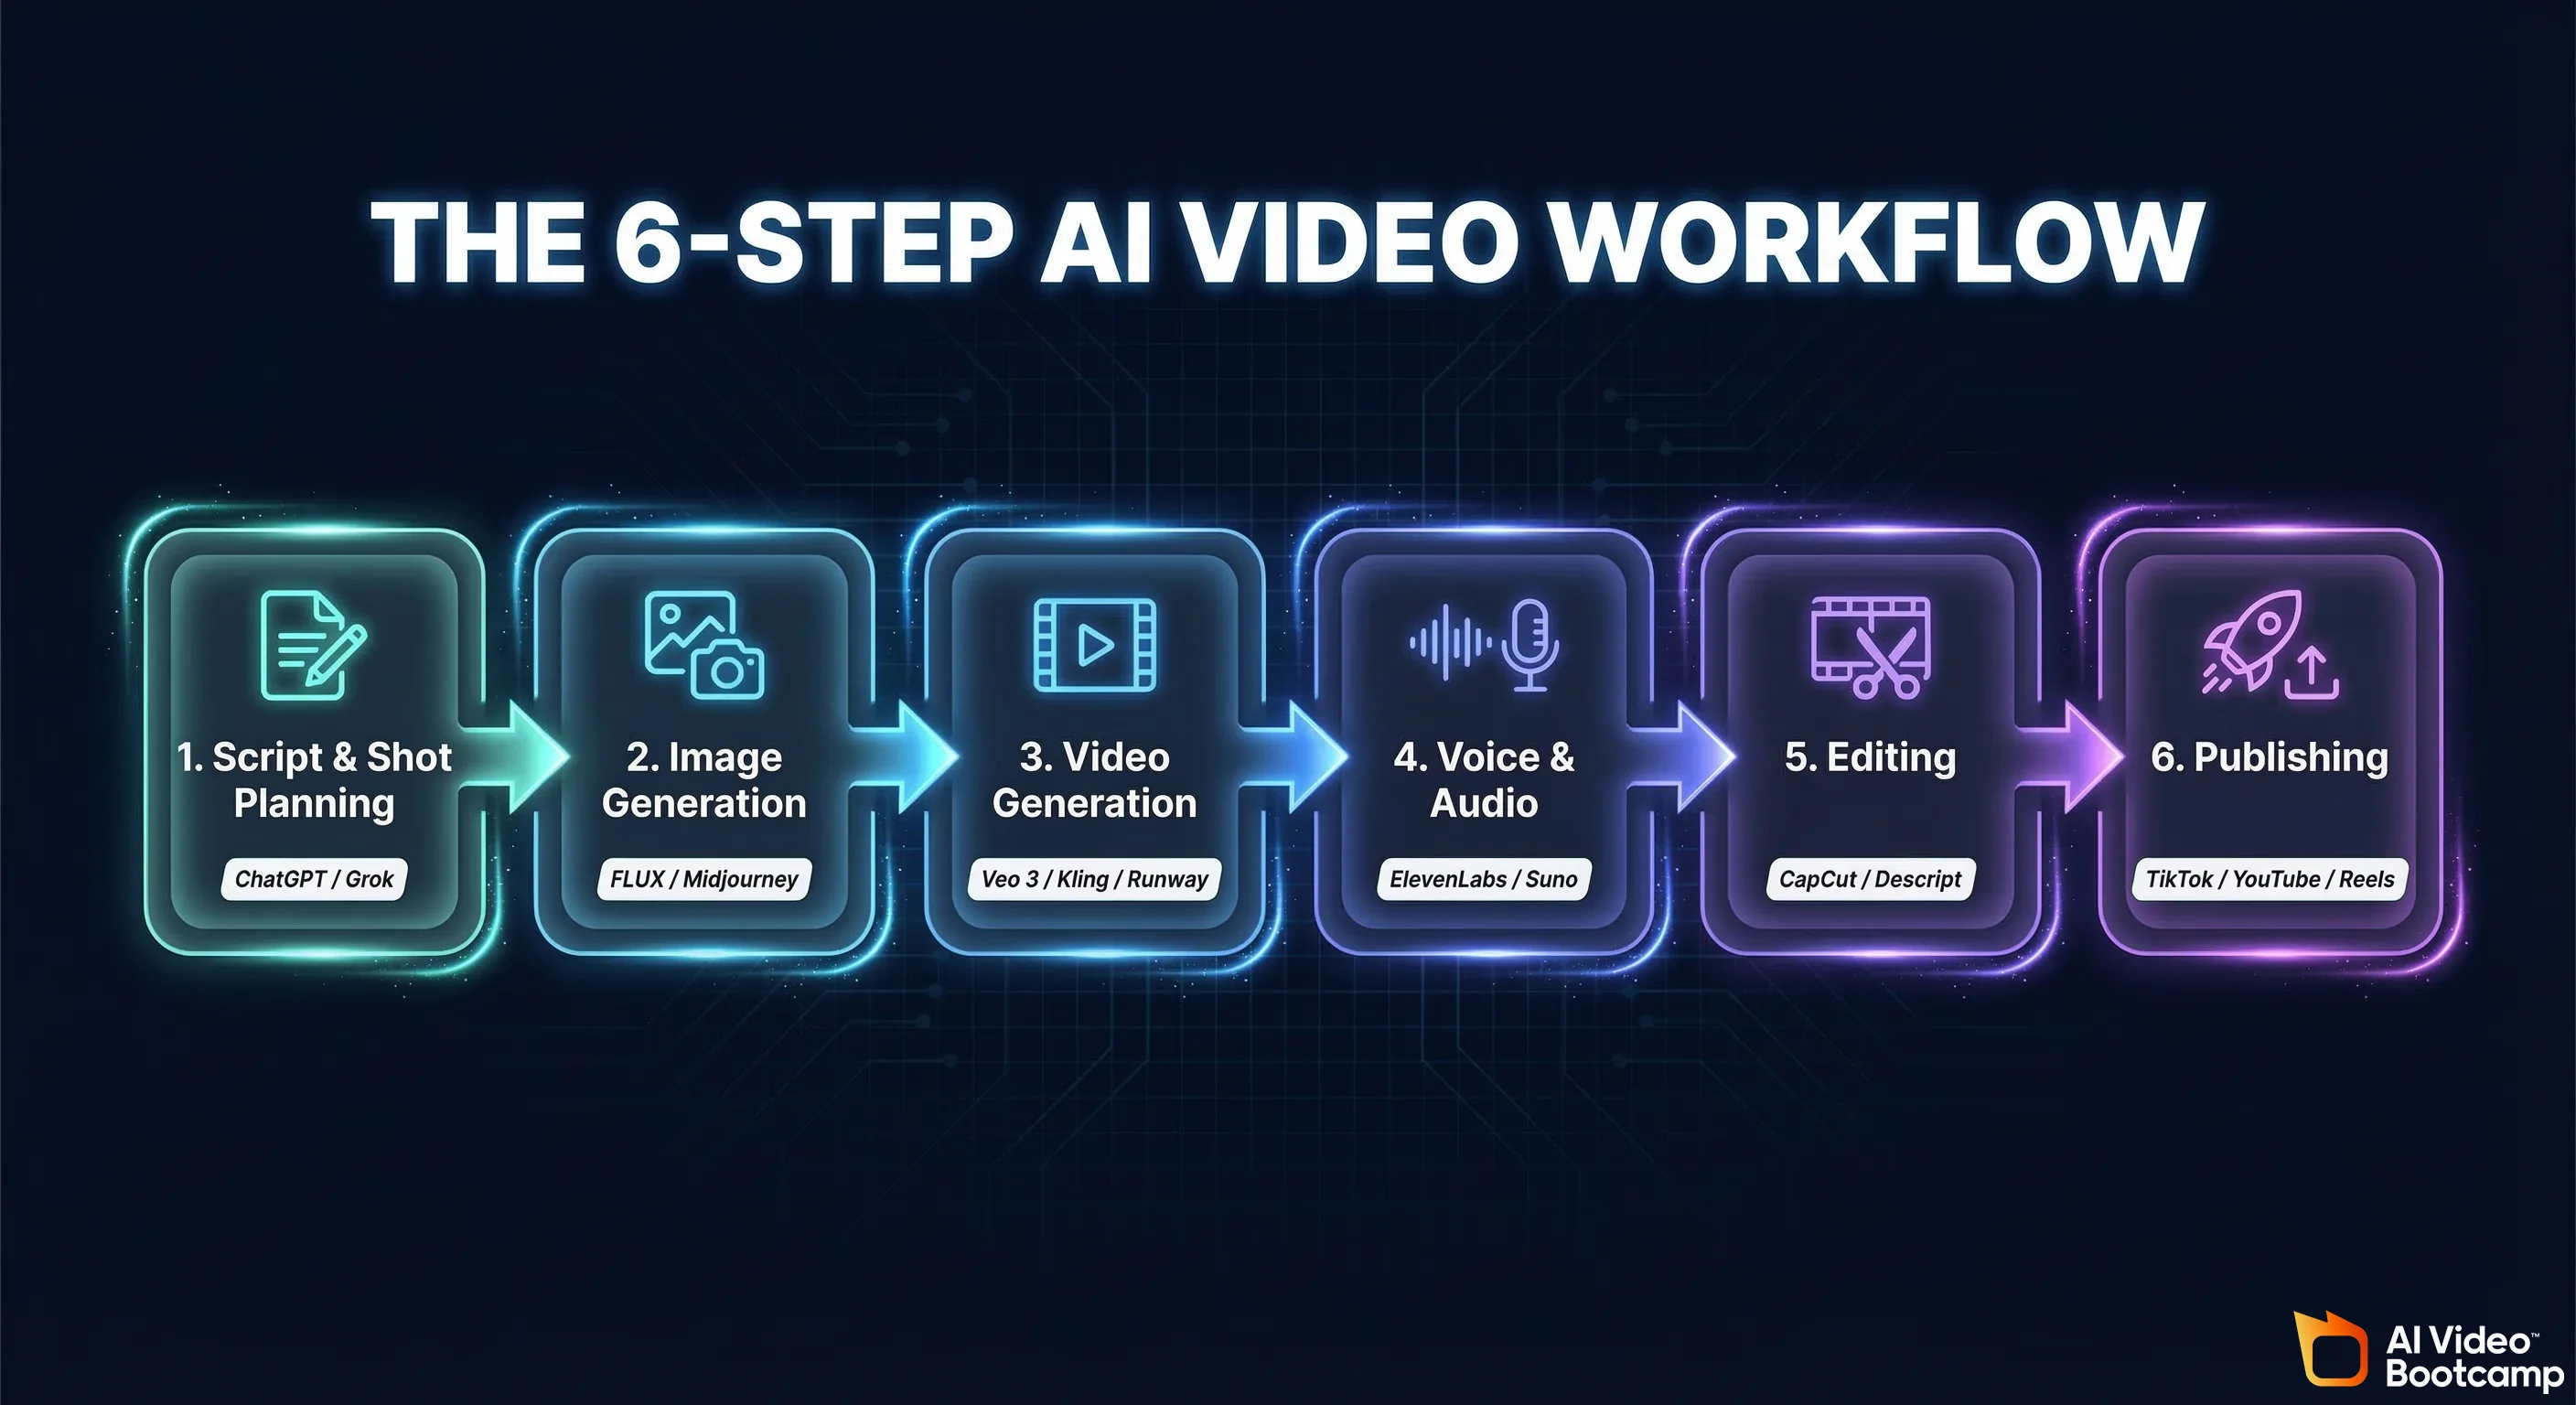
The 6-Step AI Video Workflow
Every AI video — from a 15-second TikTok to a 10-minute YouTube essay — follows the same basic pipeline:
- Script & Shot Planning → Write what happens, shot by shot
- Image Generation → Create keyframes and reference images
- Video Generation → Turn images/text into moving video clips
- Voice & Audio → Add voiceover, music, and sound effects
- Editing → Stitch clips together, add captions, color grade
- Publishing → Export in the right format for your platform
That’s it. Six steps. The tools change, the order is always the same.
One Reddit creator who recreated a $500,000 pharmaceutical commercial for $500 using Veo 3 followed this exact pipeline: script in Grok → shot list → 13 shots with 5-10 generations each → edit in post. The workflow scales up and down. A TikTok takes an hour. A short film takes a week. But the steps don’t change.
Let’s break each one down.
Step 1: Script & Shot Planning
Skip this step and everything downstream falls apart. AI video generators don’t think for you — they need specific, scene-level direction.
Write Your Script
You don’t need screenwriting experience. You need an LLM and a clear idea.
Tools: ChatGPT (free or Plus), Grok (free on X), Claude
Open your LLM of choice and give it a prompt like:
“Write a 30-second video script about a lone astronaut discovering an alien forest on Mars. Break it into 5 shots with descriptions of what we see in each shot, camera movement, and mood.”
A good script for AI video isn’t a traditional screenplay. It’s a shot list — a sequence of visual descriptions that translate directly into AI generation prompts.
Create Your Shot List
Your shot list is the blueprint. Each entry should include:
- What’s in frame (subject, environment, lighting)
- Camera movement (slow pan, tracking shot, static wide)
- Duration (most AI generators output 4-10 second clips)
- Mood/style (cinematic, dreamy, gritty documentary)
Here’s what a real shot list looks like:
| Shot | Description | Camera | Duration |
|---|---|---|---|
| 1 | Astronaut’s boots stepping onto red Martian soil, dust particles floating | Low angle, static | 5s |
| 2 | Wide shot: vast alien forest with bioluminescent trees, astronaut small in frame | Slow dolly forward | 6s |
| 3 | Close-up: astronaut’s visor reflecting the glowing forest | Slow push in | 4s |
| 4 | Aerial: camera rises above the tree canopy revealing the forest stretches to the horizon | Crane up / drone shot | 6s |
| 5 | Astronaut reaches out to touch a glowing leaf, light reacts to their hand | Medium shot, static | 5s |
This is exactly how the creator behind the viral pharma ad breakdown worked — ChatGPT and Grok for the script, then a detailed shot list that mapped 1:1 to their Veo 3 prompts.
Pro tip: Plan for 4-6 second clips. That’s the sweet spot for most generators. If you need a longer continuous shot, you’ll either need a tool that supports extended generation (Kling 3.0 does up to 10 seconds) or you’ll plan a cut.
Step 2: Image Generation (Keyframes)
Here’s a fork in the road most guides don’t explain: text-to-video vs. image-to-video.
Text-to-Video vs. Image-to-Video
Text-to-video means you type a prompt and the AI generates video from scratch. Simple, but you have less control over what the first frame looks like.
Image-to-video means you generate a still image first, then animate it. More control, more consistent results, slightly more work.
Most serious creators use image-to-video for anything that needs visual consistency — characters, specific environments, product shots. Text-to-video is fine for abstract visuals, mood clips, and quick experiments.
The Reddit post sharing a basic AI video workflow laid it out: FLUX for image generation → Runway for animation. That image-first approach is the standard for creators who care about consistency.
Keyframe Tools
FLUX (free, open source) — The go-to for keyframe generation. Runs locally or through services like Replicate and fal.ai. Excellent prompt adherence, photorealistic output. If you’re on a budget, this is your starting point.
Midjourney ($10-30/mo) — Still the king for stylized, artistic keyframes. Better for cinematic and illustrative looks. Runs through Discord, which is quirky but works.
Nano/Banana Pro — Newer options for fast, cheap keyframe generation via API.
For character consistency across shots — keeping the same person looking the same across your whole video — check our character consistency guide. It’s one of the hardest problems in AI video and it deserves its own deep dive.
How to Generate Keyframes
Take each shot from your shot list and generate the first frame as a still image. Your prompt should describe exactly what you want to see, frozen at the start of the shot.
For Shot 2 from our example:
“Wide cinematic shot, vast alien forest on Mars with bioluminescent turquoise trees, a lone astronaut in a white spacesuit standing small in the middle distance, red Martian sky, volumetric lighting, film grain, anamorphic lens flare, 16:9 aspect ratio”
Generate 3-5 variations of each keyframe. Pick the best one. This image becomes the input for your video generation step.
Step 3: Video Generation
This is the main event. You’re turning your keyframes (or text prompts) into moving video clips.
Pick Your Tool by Budget
The AI video generator space moves fast. Here’s the current landscape broken into tiers so you can pick one and stop agonizing:
Free Tier: Google AI Studio (Veo 3)
- Access through Google AI Studio (aistudio.google.com)
- Limited daily credits, but the quality is legitimately stunning
- Best free option available right now — it’s not even close
- Supports text-to-video and image-to-video
- For a deeper look at all the free options: Free AI Video Tools Guide
Budget Tier ($12-28/mo): Runway Gen-3 / Luma Dream Machine
- Runway starts at $12/mo (Standard plan) — reliable, good motion quality, established community
- Luma Dream Machine offers competitive pricing and impressive results
- Both support image-to-video, which is what you want for the workflow we’re building
- Runway has the edge in motion consistency; Luma sometimes produces more creative/unexpected results
Pro Tier ($37+/mo): Kling 3.0
- Best motion quality in the game right now
- Up to 10-second generations (most competitors cap at 4-6)
- 6 free generations per day on the free tier if you want to test before committing
- The choice for creators doing client work or building a serious channel
Also worth knowing: Hailuo AI (3 free generations/day, solid quality), PixVerse (60 free credits/day), and Sora (included with ChatGPT Plus at $20/mo but often limited by capacity).
For a full comparison of every tool with pricing, quality scores, and use cases, see our AI Video Generators Ranked.
The Reality: 5-10 Generations Per Shot
Here’s what no marketing page tells you: you will not get the perfect clip on your first try.
The creator who made the viral $500 pharma recreation was explicit about this — 13 shots, 5-10 generations per shot. That’s 65-130 generations for a single short video. This is normal. This is the process.
Budget your credits accordingly. If a tool gives you 100 credits/month and each generation costs 1 credit, you’re looking at enough for roughly one well-produced 30-60 second video. Maybe two if you’re efficient.
Free tiers are great for learning, but if you’re producing regularly, plan to spend money. $12-50/month is the realistic range for a hobbyist making 2-4 videos per month.
How to Generate Video Clips
If using image-to-video (recommended):
- Upload your keyframe image
- Write a motion prompt describing what happens during the clip
- Set your duration (4-6 seconds is standard)
- Set your aspect ratio (more on this in Publishing)
- Generate, review, regenerate until you have a keeper
Motion prompt for Shot 2:
“Slow dolly forward through the bioluminescent alien forest. Trees gently sway. Floating particles drift through the air. The astronaut turns their head slightly to look up at the canopy. Cinematic, smooth camera movement.”
If using text-to-video:
Same process, but your prompt needs to include everything — the scene description AND the motion. You’re combining your keyframe prompt and motion prompt into one.
Prompt Writing Tips for Video AI
Video prompts are different from image prompts. Here’s what matters:
Camera movement keywords that actually work:
slow pan left/right— horizontal sweepdolly forward/backward— moving toward or away from subjecttracking shot— camera follows a moving subjectcrane up/down— vertical camera movementstatic shot— locked camera, no movementhandheld— slight natural shakeaerial / drone shot— high angle, often moving
Style and mood keywords:
cinematic, film grain, shallow depth of field— movie lookdocumentary style, natural lighting— realisticdreamy, soft focus, ethereal— artistic/fantasyhigh contrast, moody, dramatic lighting— tensiongolden hour, warm tones— that Instagram look
What to avoid:
- Vague prompts like “a beautiful video” — be specific about what happens
- Requesting too many things in one clip — one action, one camera move per generation
- Ignoring the aspect ratio — set it before you generate, not after
We go much deeper on prompt craft in the dedicated section below.
Step 4: Voice & Audio
Raw AI video clips are silent. Audio is what makes them feel real. This is the step most beginners skip, and it’s the step that separates amateur from polished.
Voiceover
ElevenLabs is the standard for AI voiceover. The free tier gives you enough to test with. Paid plans start around $5/mo for more characters and voices.
- Upload your script (or the narration portion of it)
- Pick a voice from their library (or clone your own on paid plans)
- Download the audio file
- You’ll sync it with your video in the editing step
Music
Suno AI generates original music from text prompts. Tell it the genre, mood, tempo, and duration and it creates a track you can use.
“Ambient electronic soundtrack, slow tempo, mysterious and awe-inspiring, 45 seconds, no vocals”
The free tier is limited but usable for your first few videos. Alternatively:
- Epidemic Sound ($15/mo) — Royalty-free music library, not AI-generated but huge catalog
- Artlist ($10-17/mo) — Same idea, curated for video creators
- YouTube Audio Library (free) — Decent selection, safe for YouTube monetization
Sound Effects
Don’t forget sound effects. Footsteps, ambient wind, UI sounds, transitions — they add production value that viewers feel even if they don’t consciously notice.
Freesound.org (free) and Pixabay Audio (free) have massive libraries. ElevenLabs also offers sound effect generation now.
Step 5: Editing
You’ve got your video clips, voiceover, and music. Now you need to stitch it all together.
Editing Tools by Budget
Free: CapCut
- Surprisingly powerful for a free tool
- Available on desktop and mobile
- Auto-captions that actually work
- Built-in transitions, effects, and color grading
- This is what most TikTok and YouTube Shorts creators use
- The catch: exports may include a CapCut watermark on some features
Mid-Range: Descript ($24/mo)
- Edit video by editing text — paste your script and it aligns everything
- Best auto-captions in the business
- Great for narration-heavy content (explainers, faceless channels)
- Screen recording built in
- AI-powered filler word removal
Professional: Adobe Premiere Pro ($23/mo) or DaVinci Resolve (free)
- Full control over every frame
- Color grading, motion graphics, multi-track audio
- The Reddit workflow from that basic AI video workflow post used Premiere + Descript together — Descript for rough assembly and captions, Premiere for final polish
The Editing Workflow
- Import all your generated clips in shot order
- Trim the fat — most AI clips have a usable 3-4 seconds even in a 6-second generation. Cut to the best portion.
- Add transitions — simple cuts work best. Cross-dissolves for dreamy content. Avoid anything fancy.
- Layer your voiceover — align narration to the visual beats
- Add music — keep it 20-30% volume relative to voiceover. Music supports, it doesn’t compete.
- Sound effects — layer under the main audio. Subtle is better.
- Captions — not optional in 2026. Every platform favors captioned video. CapCut and Descript both auto-generate them.
- Color grade — even a basic contrast boost and slight color shift makes AI footage look more cohesive. Match the look across all your clips.
- Export — see Publishing below for format specs.
Step 6: Publishing
You made a video. Now get it in front of people.
Aspect Ratio Guide
This is where beginners mess up constantly. Wrong aspect ratio = black bars = amateur hour.
| Platform | Aspect Ratio | Resolution | Notes |
|---|---|---|---|
| YouTube (standard) | 16:9 | 1920×1080 | Landscape. The default for longform. |
| YouTube Shorts | 9:16 | 1080×1920 | Vertical. Under 60 seconds. |
| TikTok | 9:16 | 1080×1920 | Vertical. Up to 10 minutes, but 15-60s performs best. |
| Instagram Reels | 9:16 | 1080×1920 | Vertical. Up to 90 seconds. |
| Instagram Feed | 1:1 or 4:5 | 1080×1080 or 1080×1350 | Square or tall rectangle. |
| Twitter/X | 16:9 or 1:1 | 1920×1080 or 1080×1080 | Landscape or square. |
Set your aspect ratio BEFORE you generate video clips. Most AI video tools let you choose the output ratio. Generating in 16:9 and then cropping to 9:16 wastes half your image. Plan ahead.
If you’re making content for multiple platforms, generate in 9:16 for vertical-first platforms and re-edit for 16:9 if needed (or vice versa). Some creators generate key shots in both ratios.
Platform Tips
TikTok: Hook in the first 1-2 seconds or they scroll. AI video actually has an advantage here — you can open with the most visually stunning shot. Add trending sounds if relevant. Captions are mandatory.
YouTube Shorts: Same vertical format as TikTok but the audience skews slightly older and more tech-savvy. AI content does extremely well here — the “wow factor” drives shares.
YouTube (longform): This is where faceless channels live. 8-15 minute videos with AI visuals and voiceover narration. More on this below.
Instagram Reels: Visual polish matters more here than any other platform. Color grade your footage. Instagram’s audience notices production quality.
Your First AI Video: A Complete Walkthrough
Theory is nice. Let’s actually make something. We’ll create a 30-second cinematic nature video — the kind that does well on TikTok and YouTube Shorts.
The Concept
A 30-second video: “A Lone Wolf in a Frozen Forest at Dawn.” Five shots, no voiceover, ambient music. Pure visual storytelling.
Step 1: Shot List (5 minutes)
Prompt ChatGPT:
“Create a 5-shot cinematic shot list for a 30-second video about a lone wolf moving through a snowy forest at dawn. Include camera movement and duration for each shot.”
Your shot list:
- Aerial wide shot: Snow-covered pine forest at dawn, golden light breaking through mist. Slow crane down. 6s.
- Close-up: Wolf’s eyes, alert, breath visible in cold air. Static. 5s.
- Tracking shot: Wolf walking through deep snow, camera follows alongside. 6s.
- Wide shot: Wolf pauses on a ridge, vast frozen valley below, sunrise painting the sky orange. Slow push in. 7s.
- Close-up: Wolf’s paw prints in fresh snow, camera tilts up to reveal the wolf walking away into the distance. Tilt up. 6s.
Step 2: Generate Keyframes (15 minutes)
Using FLUX (free via fal.ai or Replicate):
Shot 1 keyframe prompt:
“Aerial photograph of a vast snow-covered pine forest at dawn, golden sunlight breaking through low mist between the trees, cinematic, high detail, film grain, 16:9”
Generate 3-4 images for each shot. Pick the winners. Total time: 15 minutes.
Step 3: Generate Video Clips (30-45 minutes)
Using Google AI Studio with Veo 3 (free) or Runway ($12/mo):
Upload Shot 1 keyframe. Motion prompt:
“Slow crane down movement revealing the vast snow-covered forest. Mist drifts between trees. Golden dawn light shifts subtly. Cinematic, smooth camera movement.”
Generate. Review. Not happy? Regenerate with tweaked prompt. Expect 3-5 attempts per shot.
For 5 shots at ~4 generations each, that’s roughly 20 generations. On Runway Standard, that’s about 200 credits — well within a monthly allocation. On Veo 3’s free tier, you might need to spread across two days if you hit the daily limit.
Step 4: Music (5 minutes)
Suno AI prompt:
“Ambient orchestral soundtrack, slow and majestic, winter atmosphere, building crescendo, 35 seconds, no vocals”
Generate 2-3 options. Pick the one that fits the mood.
Step 5: Edit (20 minutes)
Open CapCut. Import your 5 best clips + music track.
- Arrange clips in order
- Trim each clip to its best 5-6 seconds
- Add simple cross-dissolves between shots (or hard cuts for more energy)
- Drop in the music track, adjust volume
- Add a subtle fade-in at the start and fade-out at the end
- Optional: add a text overlay with a title or quote
- Color grade: boost contrast slightly, push toward cool blue tones to enhance the winter feel
- Export at 1080×1920 (9:16) for TikTok/Shorts, or 1920×1080 (16:9) for YouTube
Step 6: Publish
Upload to TikTok, YouTube Shorts, or Instagram Reels. Add relevant hashtags (#AIvideo #cinematicAI #aivideogeneration). Write a caption that’s honest — “Made entirely with AI” performs well right now because people are curious about the process.
Total Time & Cost
- Time: ~1-1.5 hours for your first video. Gets faster with practice.
- Cost: $0 if you used Veo 3 free tier + FLUX + Suno free + CapCut. Maybe $12 if you used Runway Standard.
That’s it. You just made an AI video.
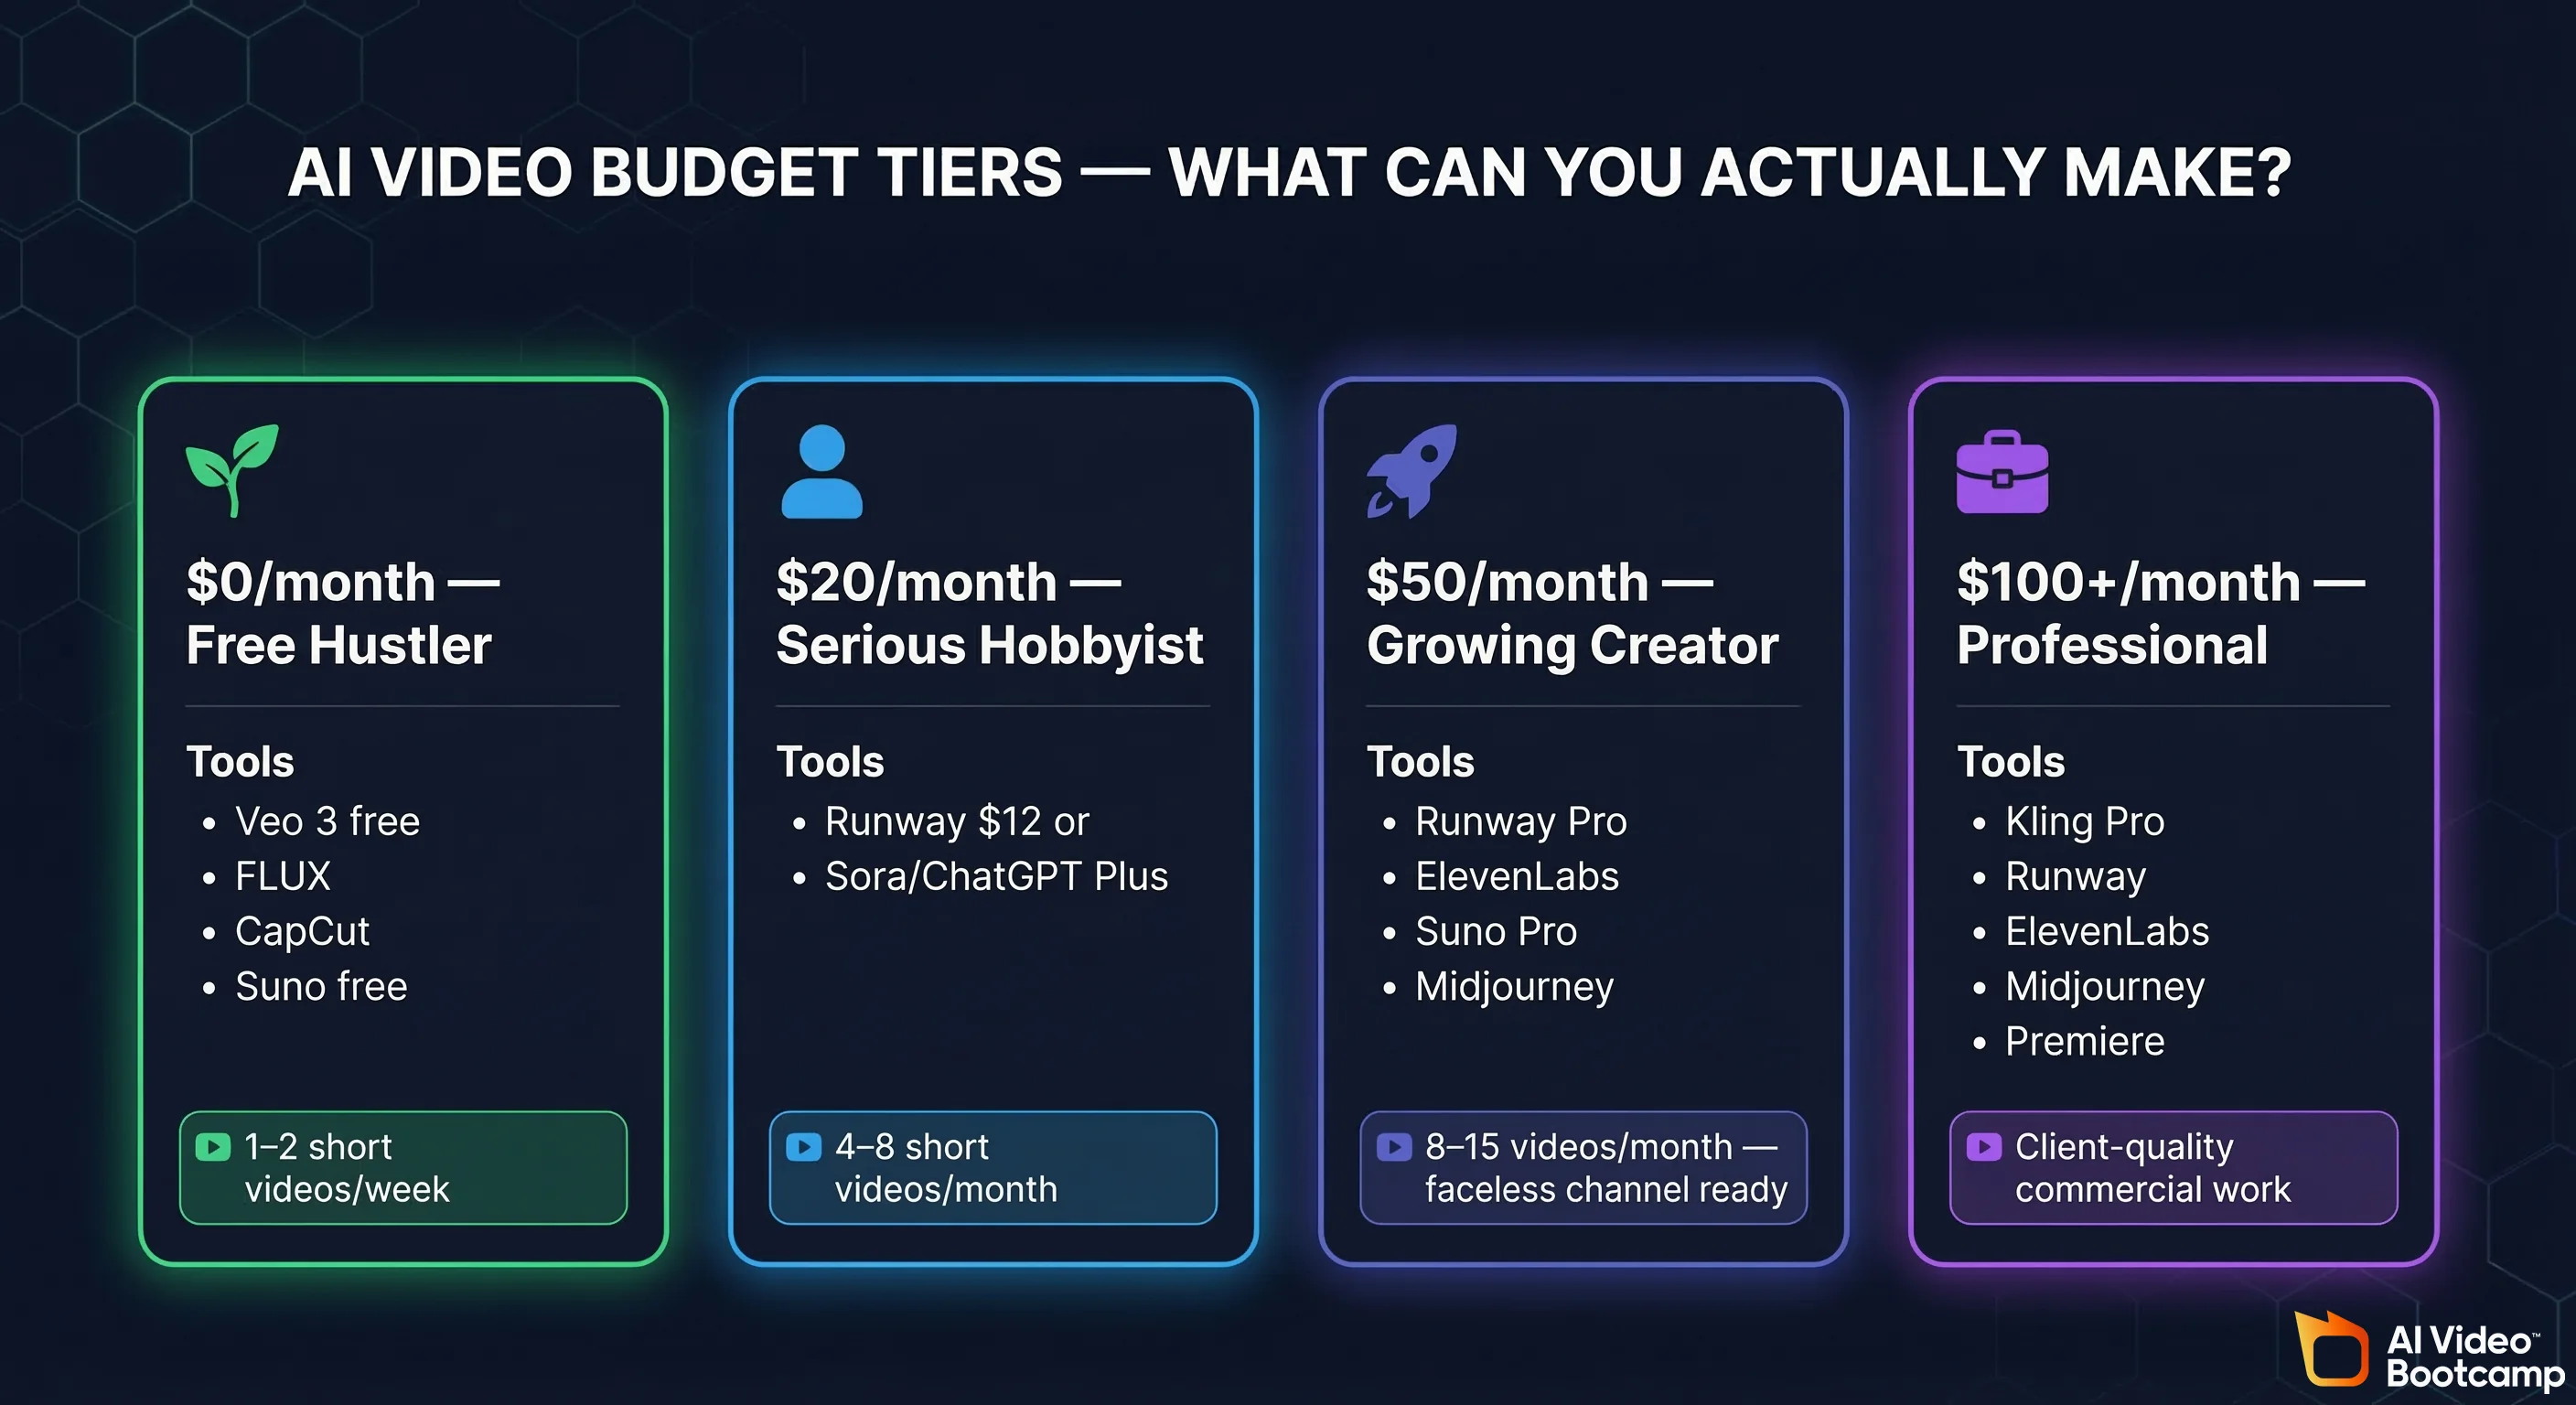
Budget Tiers: What Can You Actually Make?
Let’s be honest about what each budget level gets you.
$0/month — The Free Hustler
Tools: Google AI Studio (Veo 3 free), FLUX on Replicate/fal.ai (free tier), CapCut (free), Suno (free tier), ElevenLabs (free tier)
What you can make: 1-2 short videos per week. You’ll hit credit limits. Expect to spread generation across multiple days. Quality is genuinely good — the limitation is quantity, not quality.
Best for: Learning, experimenting, making your first few videos to see if you enjoy the process.
The catch: Daily credit limits mean you can’t binge-produce. You’ll need patience.
$20/month — The Serious Hobbyist
Tools: Runway Standard ($12/mo) OR Sora via ChatGPT Plus ($20/mo), plus free tools for everything else
What you can make: 4-8 short videos per month, or 1-2 longer pieces. Enough credits to iterate on shots without anxiety. This is where most beginners should land.
Best for: Building a consistent posting schedule. Starting a TikTok or YouTube Shorts presence.
$50/month — The Growing Creator
Tools: Runway Pro ($28/mo) + ElevenLabs Starter ($5/mo) + Suno Pro ($10/mo) + Midjourney Basic ($10/mo)
What you can make: 8-15 short videos per month with professional voiceover, custom music, and high-quality keyframes. Enough to run a faceless YouTube channel or active TikTok account.
Best for: Creators treating this as a real content operation. Faceless channels. Freelancers testing AI video for client work.
$100+/month — The Professional
Tools: Kling 3.0 Pro ($37/mo) + Runway Pro ($28/mo) + ElevenLabs ($22/mo) + Midjourney Standard ($30/mo) + Premiere Pro ($23/mo)
What you can make: Near-unlimited short-form content. Client-quality commercial work. Full AI short films. The $500 pharma ad recreation was done at roughly this budget level.
Best for: Freelancers offering AI video services, content agencies, serious YouTube channels.
The AI Video Prompt Writing Guide
Prompting for video is a skill, and it’s different from prompting for images. Here’s what works.
The Anatomy of a Great Video Prompt
A strong video prompt has four components:
- Subject & Scene — What are we looking at?
- Action & Motion — What happens during the clip?
- Camera — How does the camera move?
- Style & Mood — What does it feel like?
Template:
“[Camera movement] of [subject] [doing action] in [environment]. [Lighting/atmosphere details]. [Style keywords].”
Example:
“Slow tracking shot of a woman in a red dress walking through a rain-soaked Tokyo street at night. Neon reflections on wet pavement. Cinematic, shallow depth of field, moody, Blade Runner aesthetic.”
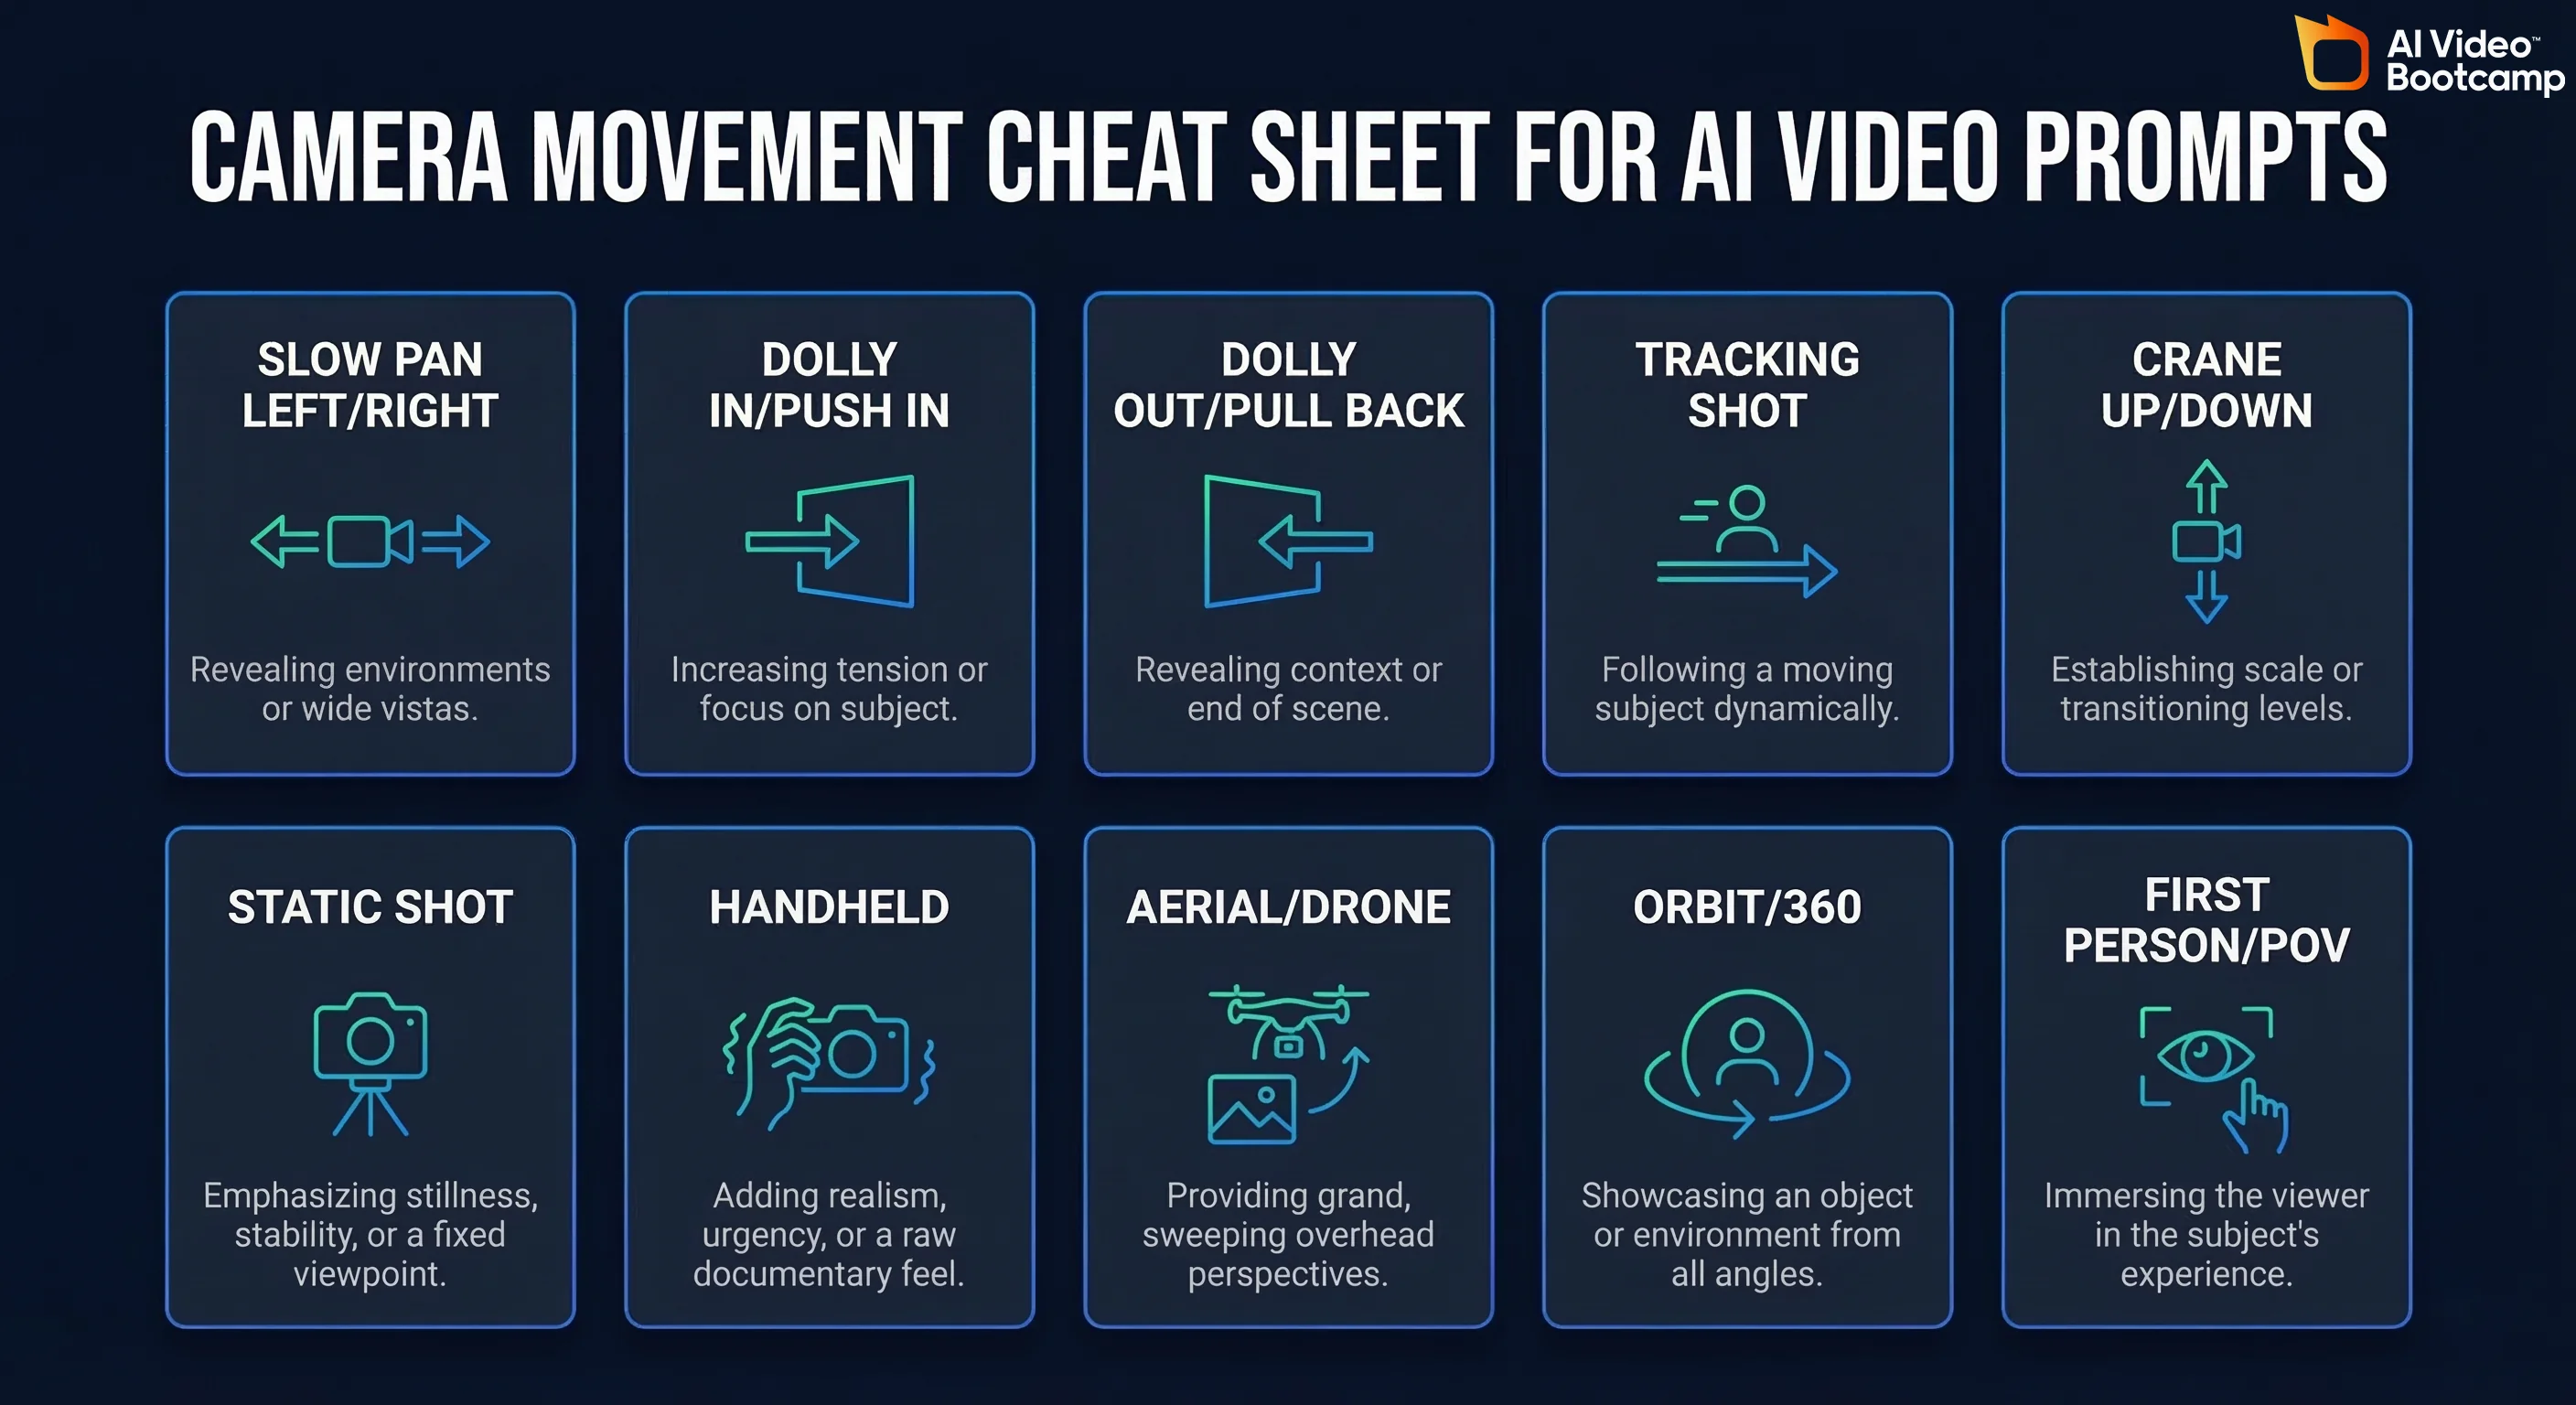
Camera Movement Cheat Sheet
| Prompt Keyword | What It Does | Best For |
|---|---|---|
slow pan left/right | Horizontal sweep | Revealing environments |
dolly in / push in | Camera moves toward subject | Building intensity, focus |
dolly out / pull back | Camera moves away | Reveals, endings |
tracking shot | Camera follows moving subject | Action, walking scenes |
crane up | Camera rises vertically | Dramatic reveals |
static shot | No camera movement | Dialogue, close-ups |
handheld | Slight natural wobble | Documentary, intimate |
aerial / drone | High angle, often moving | Landscapes, establishing |
orbit / 360 | Camera circles the subject | Product shots, dramatic |
first person / POV | Camera IS the subject | Immersive, experimental |
Style Keywords That Actually Change Output
Cinematic: anamorphic, film grain, shallow depth of field, letterbox, 35mm film
Documentary: natural lighting, handheld, raw footage, observational
Fantasy/Sci-Fi: volumetric lighting, ethereal glow, particle effects, otherworldly
Commercial/Product: clean lighting, studio setup, white background, macro lens
Vintage: Super 8, VHS texture, faded colors, light leaks, 1970s
Common Prompt Mistakes
- Too vague: “A beautiful sunset video” → Generates something generic. Instead: “Golden hour over a calm ocean, sun touching the horizon, wispy clouds painted orange and purple, drone shot slowly descending toward the water surface.”
- Too complex: “A knight fights a dragon while a castle crumbles and villagers flee and it’s raining” → AI can’t handle multiple simultaneous actions well. One subject, one action per clip.
- No camera direction: If you don’t specify camera movement, you’ll get random or static shots. Always include it.
- Forgetting duration context: You’re generating 4-6 seconds. Don’t describe a 30-second sequence.
How to Start a Faceless YouTube Channel with AI
This is the #1 question on Reddit about AI video. Creators on r/NewTubers ask about it constantly. Here’s the playbook.
What Is a Faceless Channel?
A YouTube channel where you never appear on camera. The video is narration over visuals — and AI can now generate both.
Popular faceless niches: history/documentaries, science explainers, true crime, motivation/self-improvement, nature/wildlife, technology, finance, scary stories, top 10 lists.
The Faceless AI Channel Workflow
-
Pick a niche. Choose something with proven demand. Search YouTube for faceless channels in your area of interest and check if they have 10K+ subscribers. If yes, the niche works.
-
Script. Use ChatGPT or Claude to draft scripts. Always rewrite and fact-check — LLMs hallucinate. A 10-minute YouTube video needs roughly 1,500 words of narration.
-
Voiceover. ElevenLabs. Pick a voice that fits your niche (authoritative for documentaries, warm for storytelling, energetic for tech). Alternatively, record your own voice — “faceless” doesn’t mean “voiceless.”
-
Visuals. This is where AI video generation shines. Generate clips to match each section of your script. Mix AI-generated footage with stock footage (Pexels, Pixabay — both free) to add variety and reduce generation costs.
-
Edit. Descript is perfect for this workflow — edit the video by editing the transcript. Add captions, B-roll, transitions.
-
Thumbnails. Midjourney or FLUX for eye-catching thumbnails. Thumbnail quality matters more than video quality for getting clicks.
-
Upload consistently. 1-2 videos per week is the minimum to grow. YouTube’s algorithm rewards consistency.
Can You Monetize AI Videos on YouTube?
Yes. YouTube has not banned AI-generated content from the Partner Program. You do need to disclose AI usage in YouTube Studio (there’s a specific checkbox for it now). As long as your content provides value and isn’t just reposted AI clips with no editing, you’re fine.
The bigger question is whether you can make good content — AI is a tool, not a shortcut. The channels that succeed are the ones with genuinely interesting scripts and solid editing, not the ones that just dump raw AI generations onto the platform.
Common Mistakes (and How to Avoid Them)
These are pulled directly from Reddit pain points — the problems real beginners actually hit.
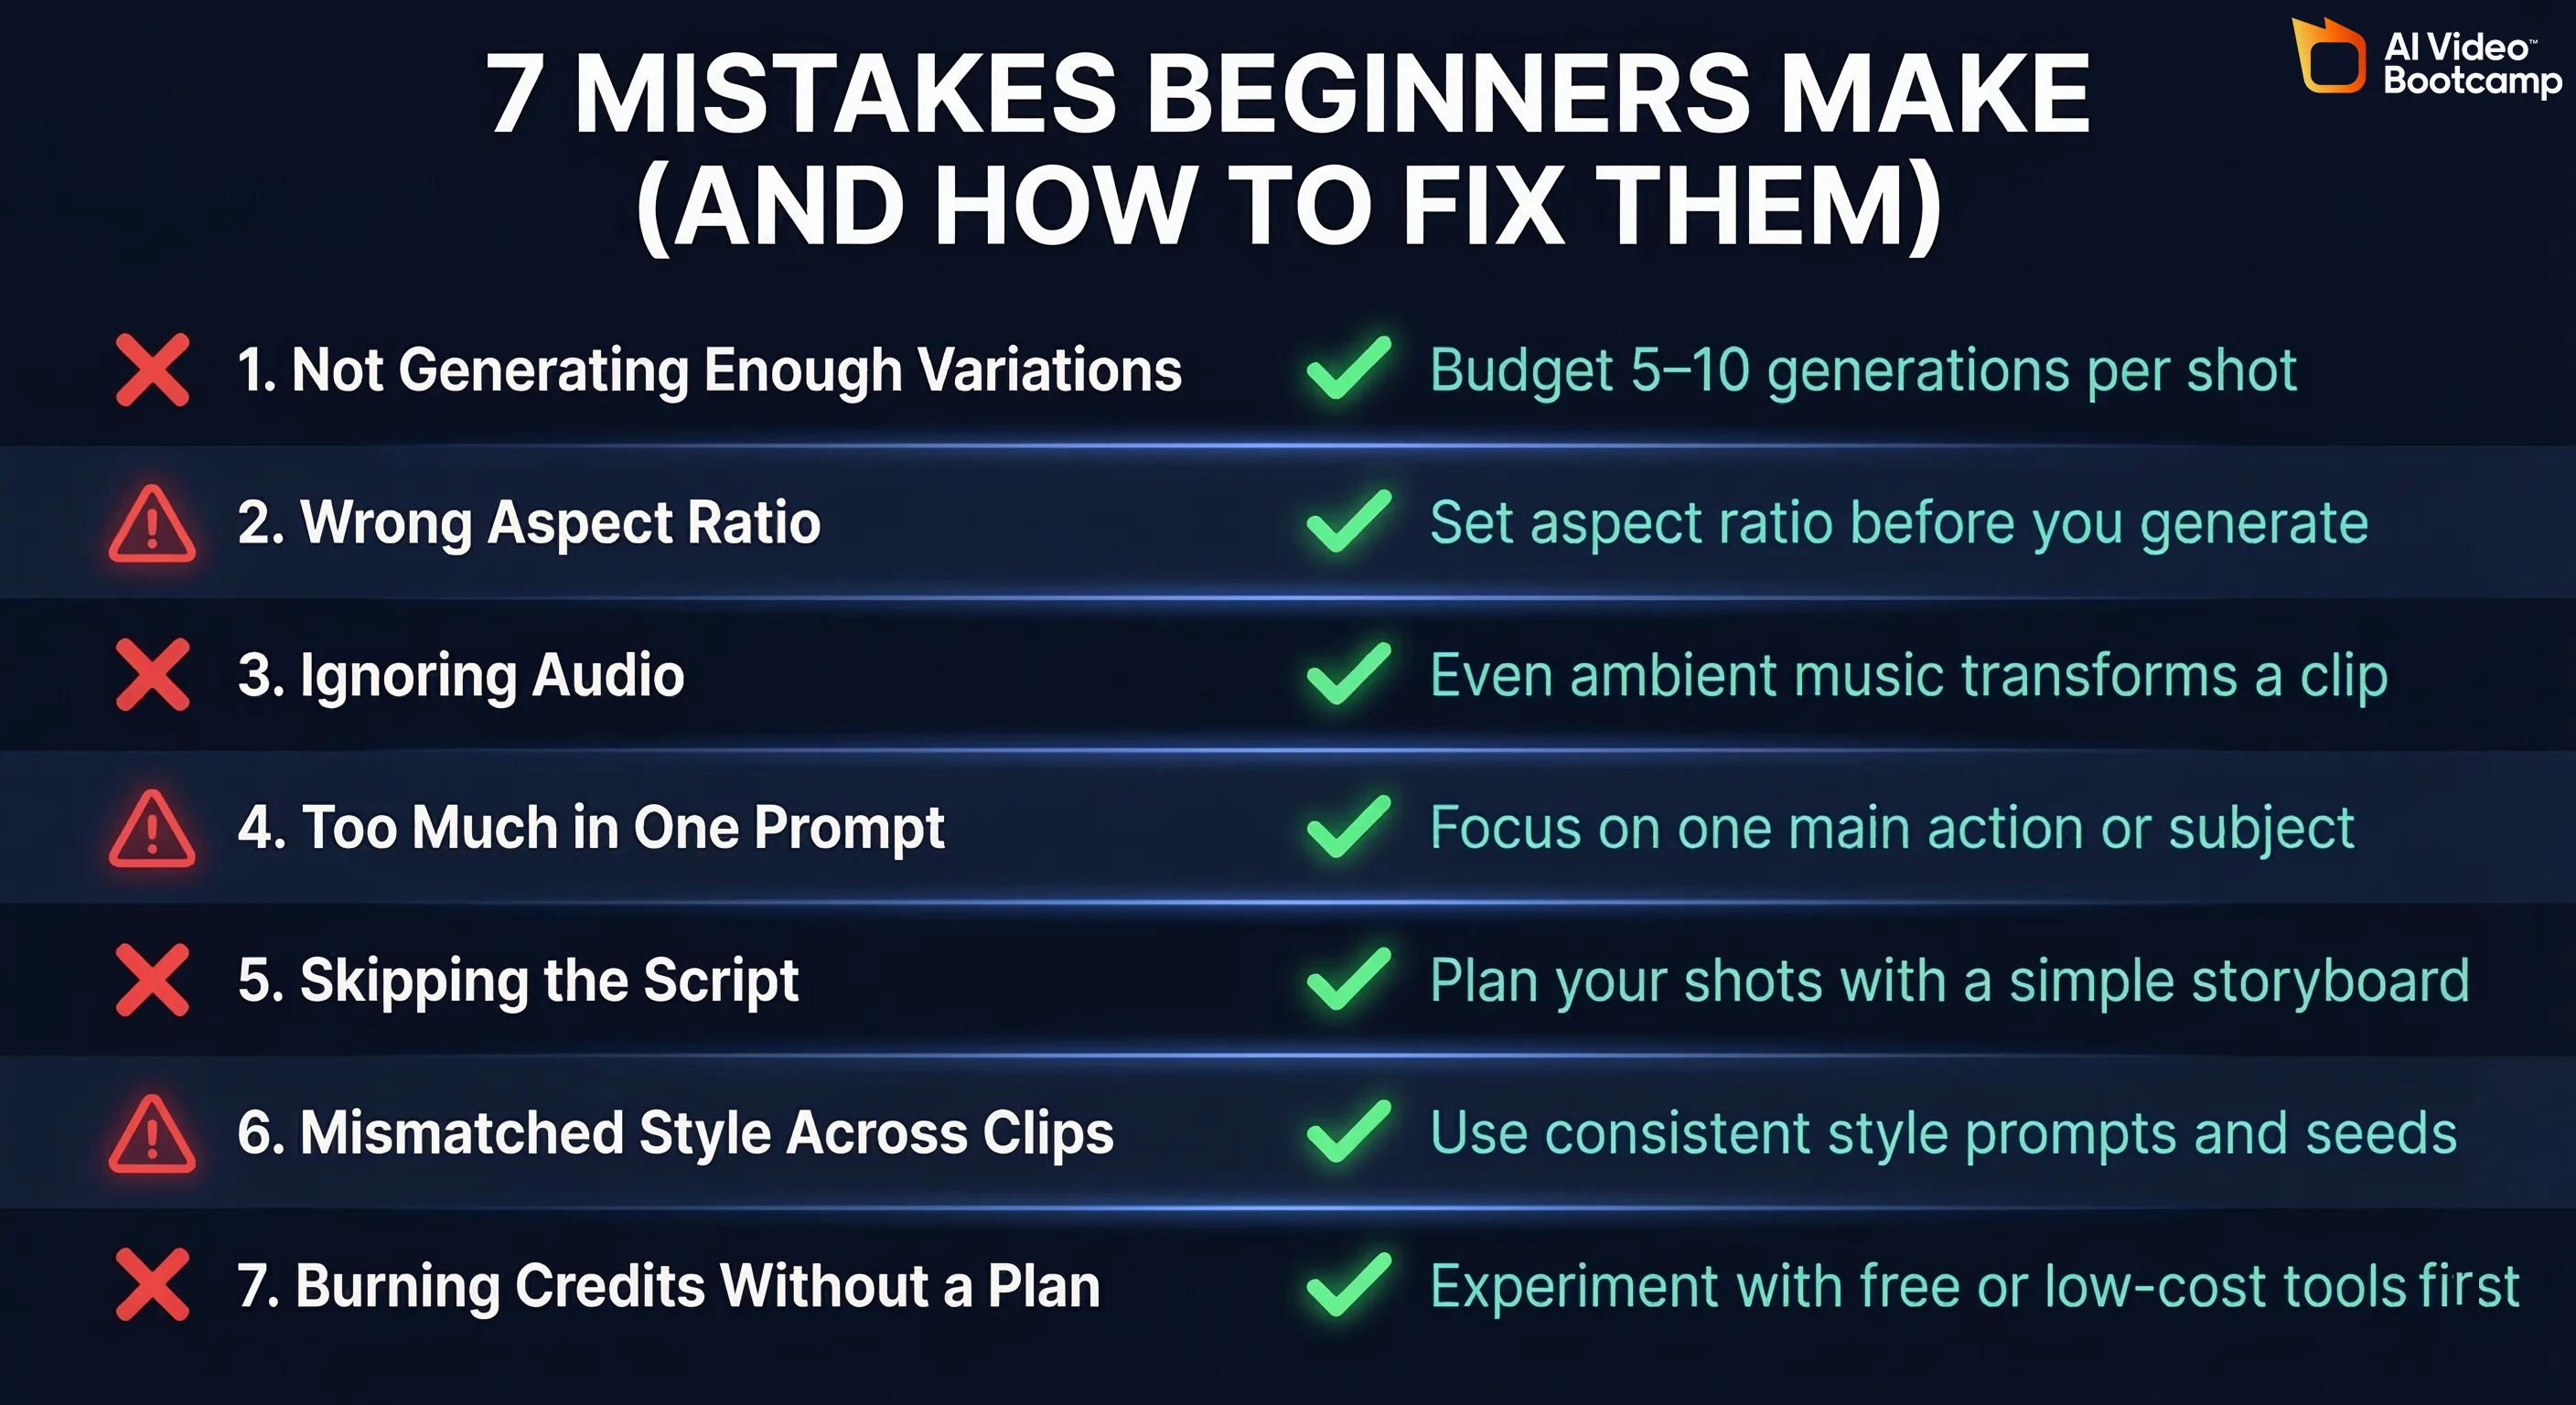
1. Not Generating Enough Variations
The single most common mistake. You generate one clip, it’s not great, you get frustrated.
Fix: Budget for 5-10 generations per shot. That’s the real cost of AI video. The creator who made that pharma ad was explicit: 5-10 gens per shot, 13 shots. This isn’t a bug, it’s the process.
2. Wrong Aspect Ratio
Generating in 16:9 for a TikTok (9:16), then cropping. You lose half the image and it looks terrible.
Fix: Set the correct aspect ratio before generation. Know your target platform before you start.
3. Ignoring Audio Entirely
Posting AI video clips with no music, no voiceover, no sound effects. Silent AI video looks like a tech demo, not content.
Fix: Even 60 seconds of ambient music from Suno transforms a clip. Audio is at least 50% of the viewing experience.
4. Trying to Do Too Much in One Prompt
Cramming an entire scene — multiple characters, complex actions, environment changes — into a single generation.
Fix: One subject, one action, one camera movement per clip. Build complexity through editing, not prompting.
5. Skipping the Script
Jumping straight into generation without planning shots. You end up with a collection of cool-looking clips that don’t tell a story.
Fix: Spend 10 minutes on a shot list. It saves hours of aimless generation.
6. Not Matching Style Across Clips
Each shot looks like it came from a different movie because you used different style keywords or tools for each one.
Fix: Use the same style keywords in every prompt. Generate all keyframes with the same tool and settings. Color grade in post to unify the look.
7. Burning Through Free Credits Without a Plan
Signing up for every free tier, generating random clips, running out of credits before you’ve made anything complete.
Fix: Plan your video first, count how many generations you’ll need, then allocate your credits deliberately.
Frequently Asked Questions
How long does it take to make an AI video?
Your first one: 1-2 hours. Once you’ve got the workflow down: 30-60 minutes for a short (15-60 seconds), 2-4 hours for a longer piece (3-10 minutes). The generation step is the bottleneck — waiting for renders and regenerating unsatisfactory clips takes time.
Do I need a powerful computer?
No. Almost all AI video generation happens in the cloud. You need a browser and an internet connection. Editing is the only step where your hardware matters, and CapCut and Descript both run fine on modest machines.
Can AI generate videos from just text?
Yes. Every major tool (Veo 3, Runway, Kling, Sora, Hailuo) supports text-to-video. You type a description, it generates a clip. Image-to-video gives you more control, but text-to-video is perfectly viable — especially for getting started.
What’s the difference between text-to-video and image-to-video?
Text-to-video: you describe the scene in words, AI generates everything. Image-to-video: you provide a starting image, AI animates it. Image-to-video gives more control over the look. Text-to-video is faster and simpler. Most creators use both depending on the shot.
Is AI video legal to use on YouTube and TikTok?
Yes. Both platforms allow AI-generated content. YouTube requires disclosure (check the AI content box in upload settings). TikTok has similar disclosure features. Neither platform prohibits AI content from monetization, though policies evolve — stay current.
How many AI videos can I make for free per day?
Depends on the tool. Google AI Studio (Veo 3) offers limited daily credits — typically enough for 5-15 generations. Kling gives 6 free generations per day. Hailuo gives about 3. PixVerse offers 60 credits per day. Stack multiple free tiers to maximize output.
Can I use AI video for commercial purposes?
Generally yes, but check each tool’s terms of service. Runway, Kling, and most paid plans include commercial usage rights. Free tiers sometimes restrict commercial use. When in doubt, read the TOS or upgrade to a paid plan — $12/mo is cheap insurance for commercial rights.
What tools do most AI video creators actually use?
Based on what we see across Reddit and creator communities: Google Veo 3 and Kling for generation, FLUX or Midjourney for keyframes, ElevenLabs for voiceover, Suno for music, and CapCut or Premiere for editing. Most creators use 3-5 tools together — there’s no single tool that does everything well.
What’s Next
You’ve got the workflow. You’ve got the tools. You’ve seen exactly how to make a video from start to finish.
Here’s the honest truth: your first AI video will probably be rough. Your second will be better. By your fifth, you’ll have a style. That’s how every skill works — AI just collapses the timeline from years of learning filmmaking to weeks of learning prompting.
Start with the walkthrough in this guide. Make the wolf-in-the-forest video or something similar. Publish it. Then iterate.
Keep learning with us:
- AI Video Generators Ranked for 2026 — Detailed comparison of every major tool
- Free AI Video Tools — Maximize what you can do at $0/month
- Character Consistency in AI Video — Keep characters looking the same across shots
The tools will keep getting better. The workflow stays the same. Learn the process now and you’ll be ahead of everyone still arguing about which tool is best in the comments section.
Now go make something.