
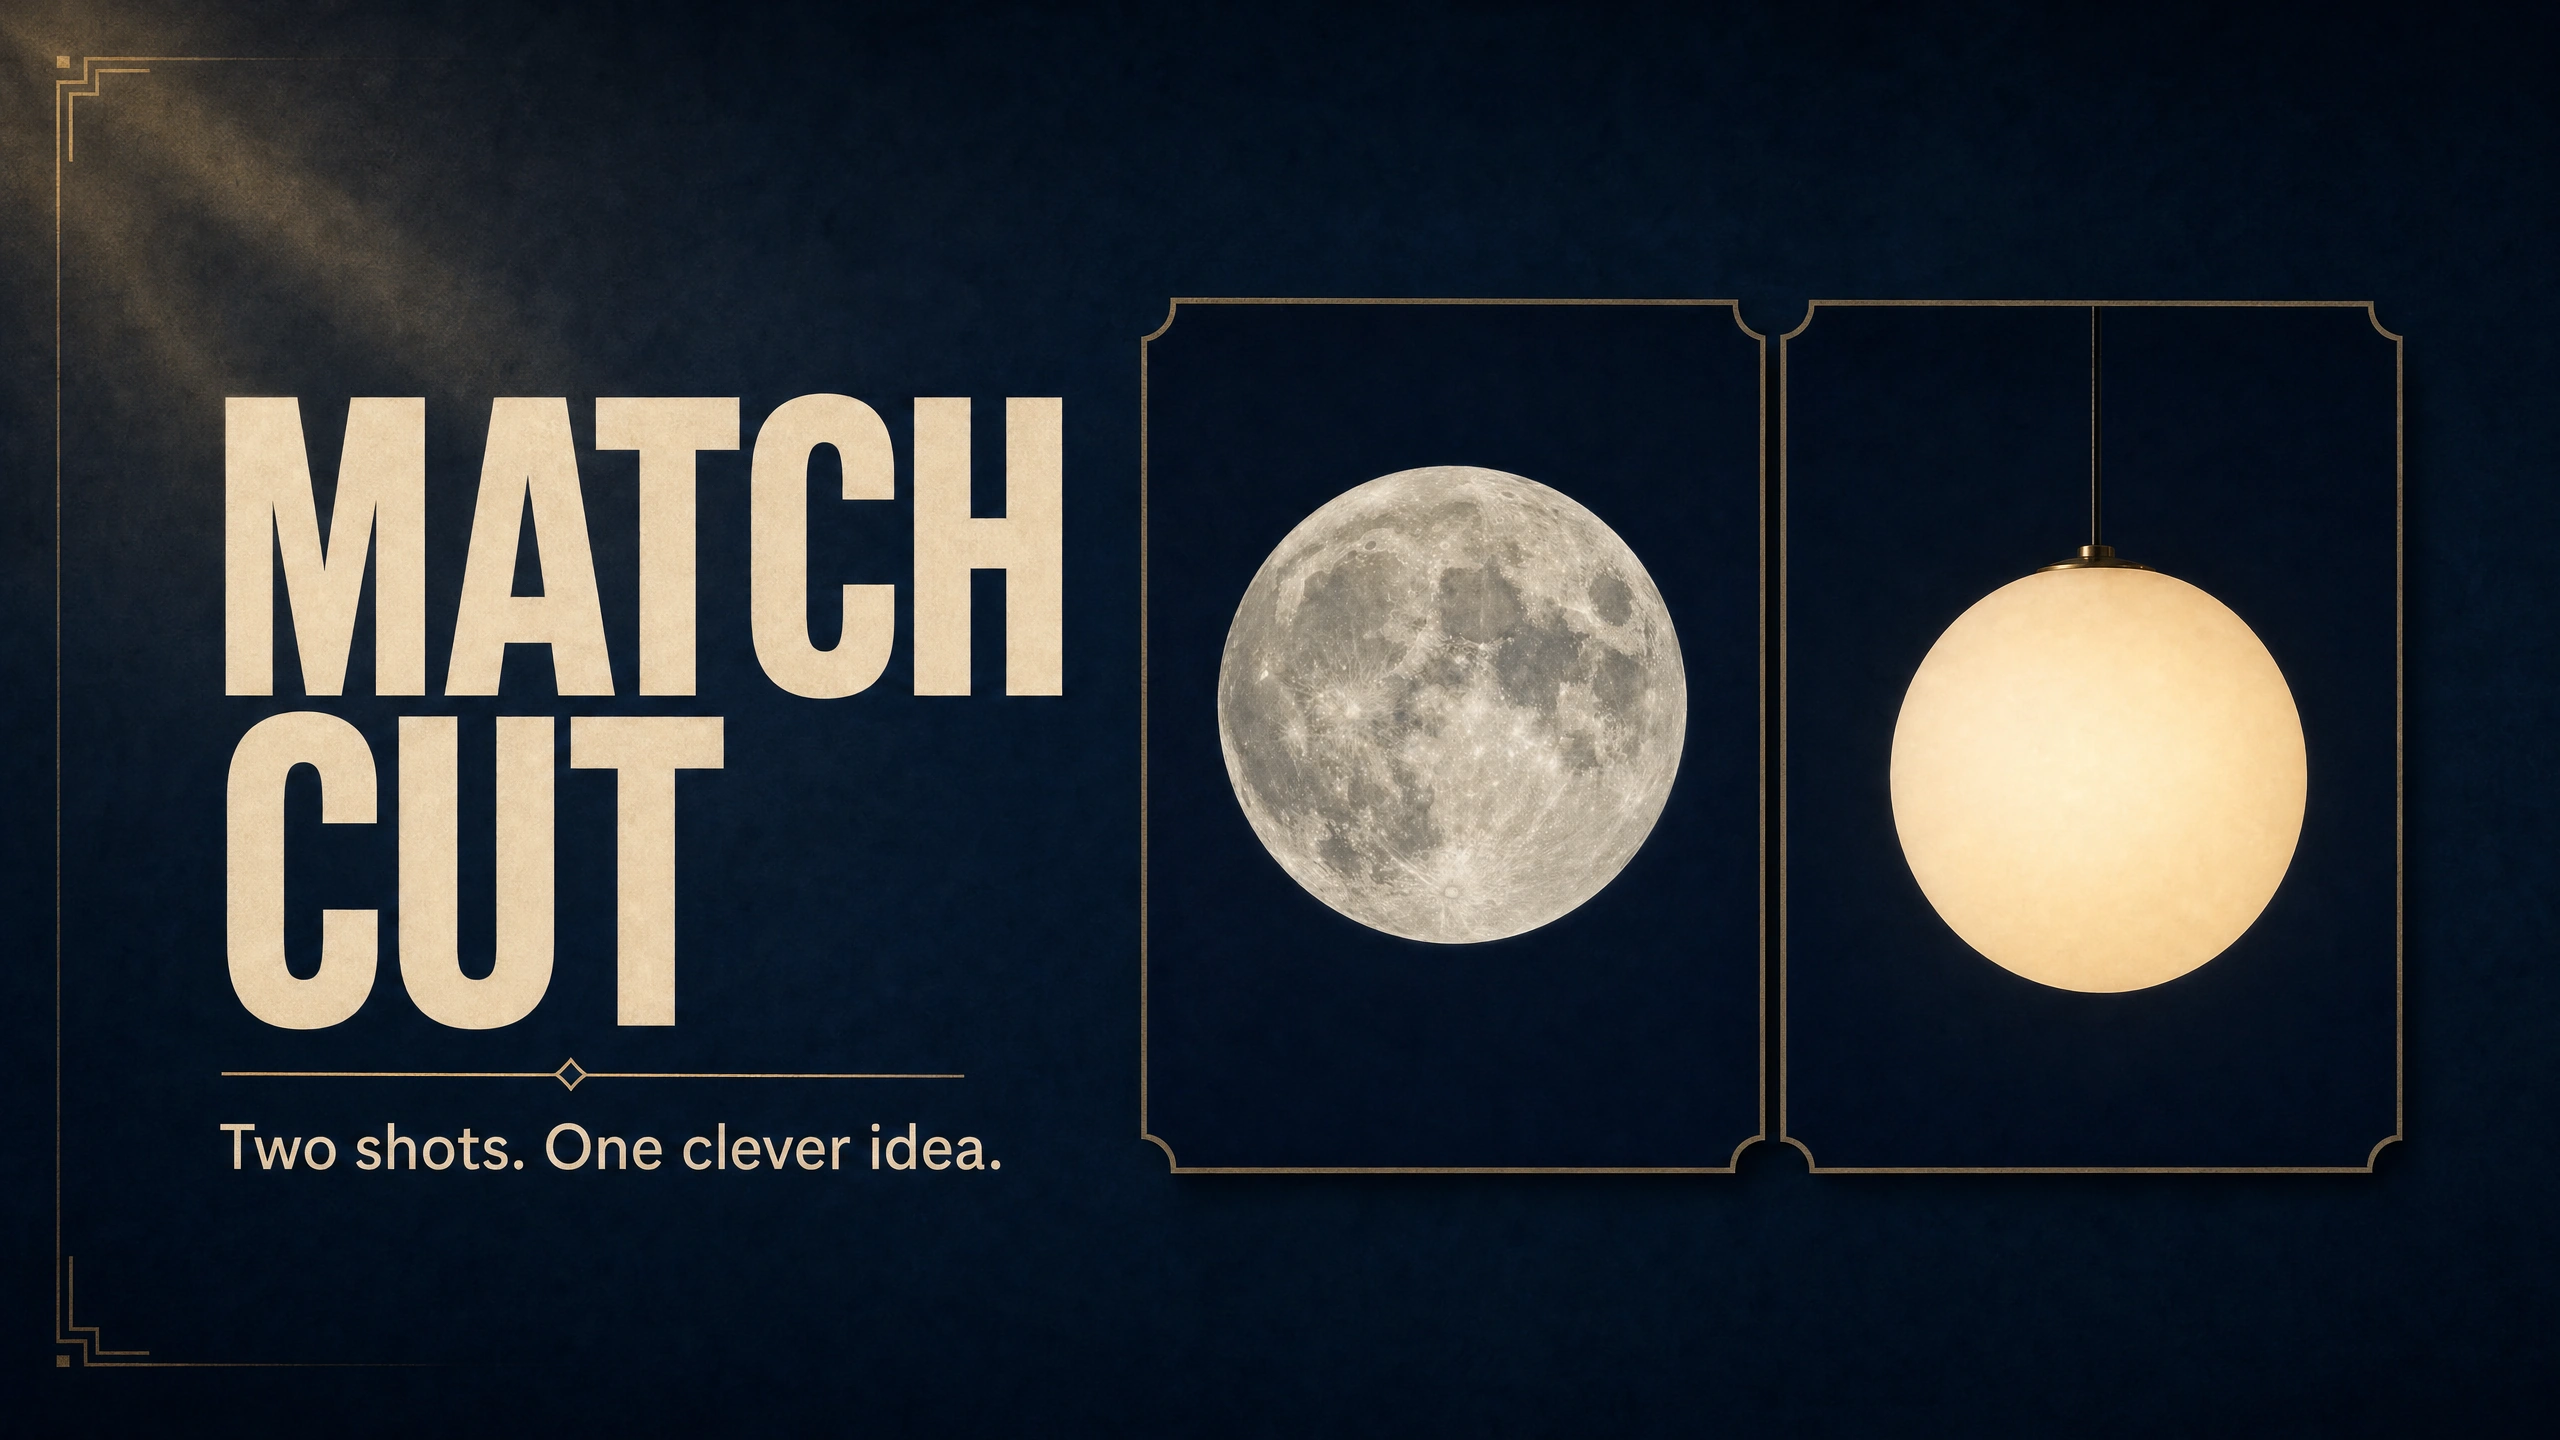
A full moon fills the centre of a dark blue frame. Cut to a round pendant light in a dark room, in almost the same position. The view changes from the moon’s surface to warm glass but the circle of the object gives the eye something to follow.
Match-cut – Two Separate Shots. The two shots connect through a shared visual or sound element. In this tutorial we focus on the simplest form of match-cut – two attractive shots that belong next to each other in the edit.
A basic version of this match-cut would be the easiest point to start with before you add in lots of complex plot and character development. Just two nice shots. Two shots that belong next to each other take a bit more planning.
Pick a connection you can explain
There are different types of matches, like a graphic match using shape, composition or color and others using movement or sound. The graphic match using shape, composition or color is the focus of this tutorial and we will follow the example of one circular subject followed by another circular subject.
Note that the connection between the moon image and the pendant image doesn’t have to be limited to the shared outline of both objects. Both subjects give off, or appear to give off, light in a dark environment. Use this to create a lighting concept for the match cut, that suggests bringing a part of the night sky to a indoor environment.
Each concept for your Business Match Cut starts with asking yourself what connection between two shots of different objects would also explain your product to others in the same way? A round ingredient in a kitchen could be followed by a finished dish for example, or a simple shape in a landscape followed by a product detail.
The continuity principle stated by filmmaker Taylor Kavanaugh in Adobe’s Cross-Cutting tutorial is that “We as viewers want to see things carry over from one clip to the next”. He was describing motion carried between cross-cut scenes; this example applies the idea to a shape. In order to realize this principle in match cutting, one has to ask what is it that will carry over from the first frame to the second frame of a pair? The answer to this is the circle of the object, the position of it within the frame, and the darkness around it.
The object in the image changes but the visual anchor, a circle within a dark space, is held close enough to create the necessary connection between the two shots.
Make the second frame answer the first
Both images were created in PromptWise with GPT Image 2.0. PromptWise is AI Video Bootcamp’s own studio. Here is the source image for the moon followed by the source for the pendant lamp: The moon image was generated first and then used as the input-image reference for the pendant image. Both images were created in 16:9 landscape frames at 2560 x 1440 pixels.
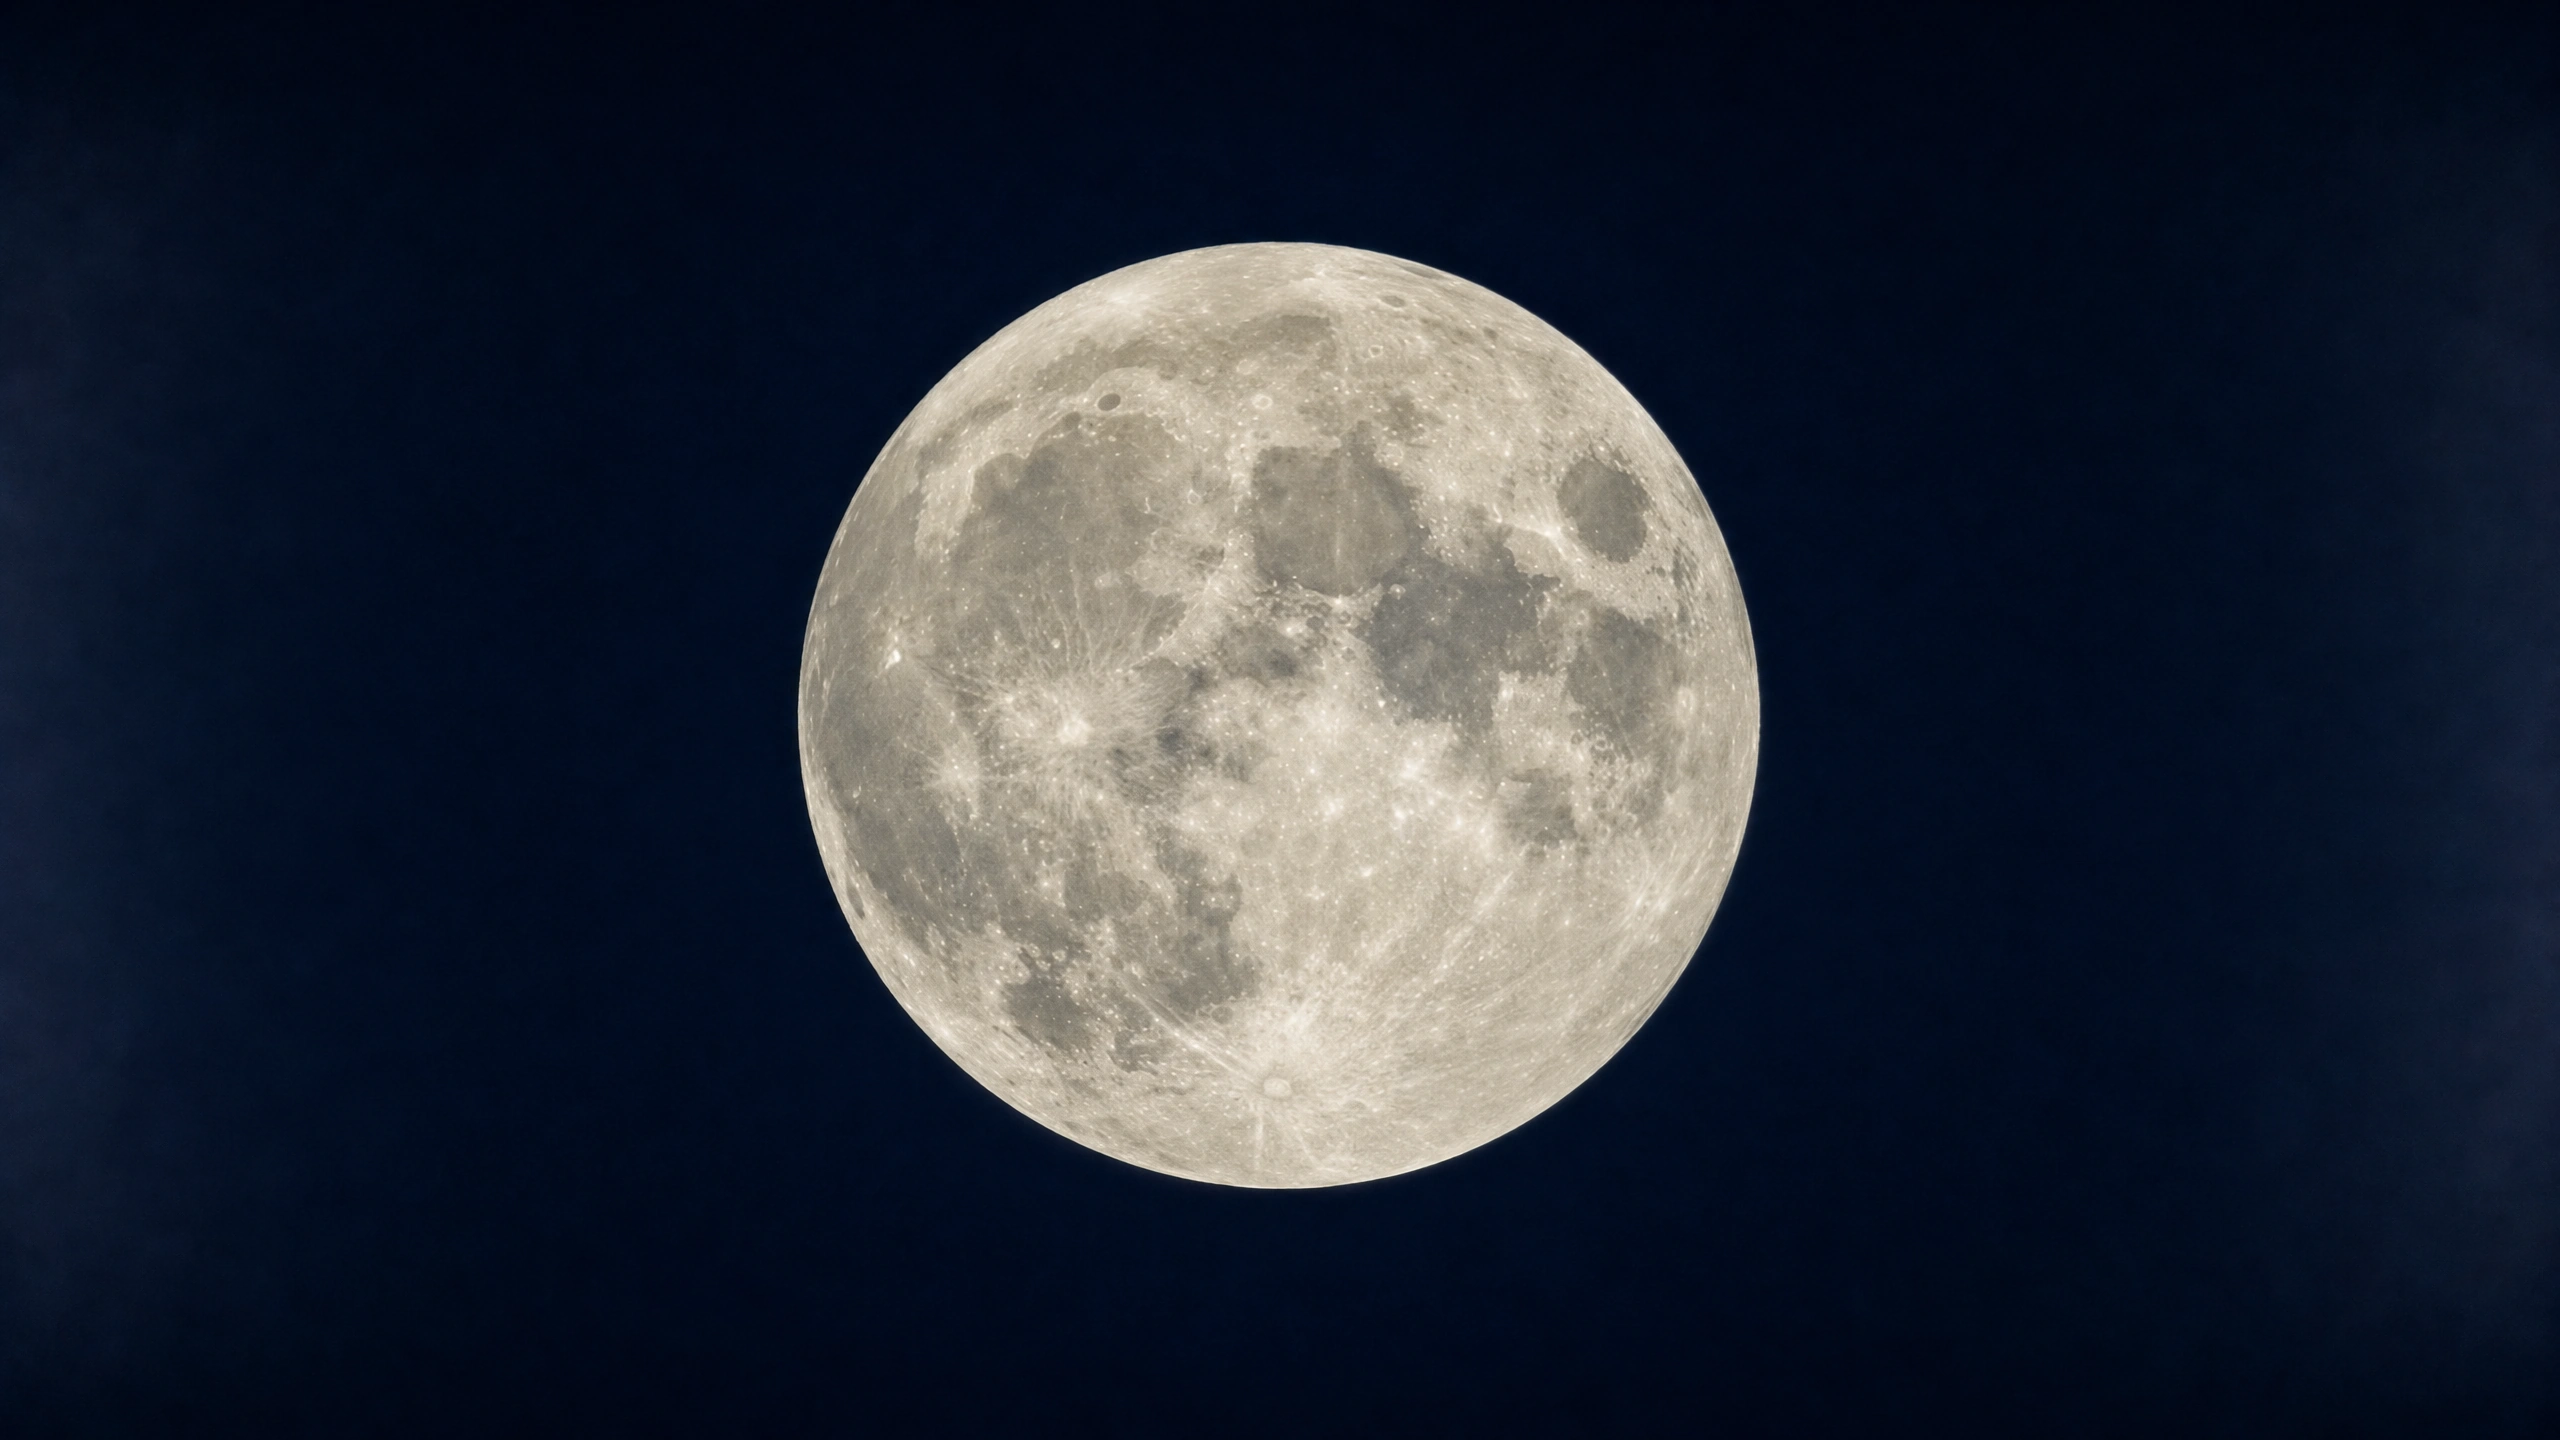
The first generated reference: a round moon against a dark sky.
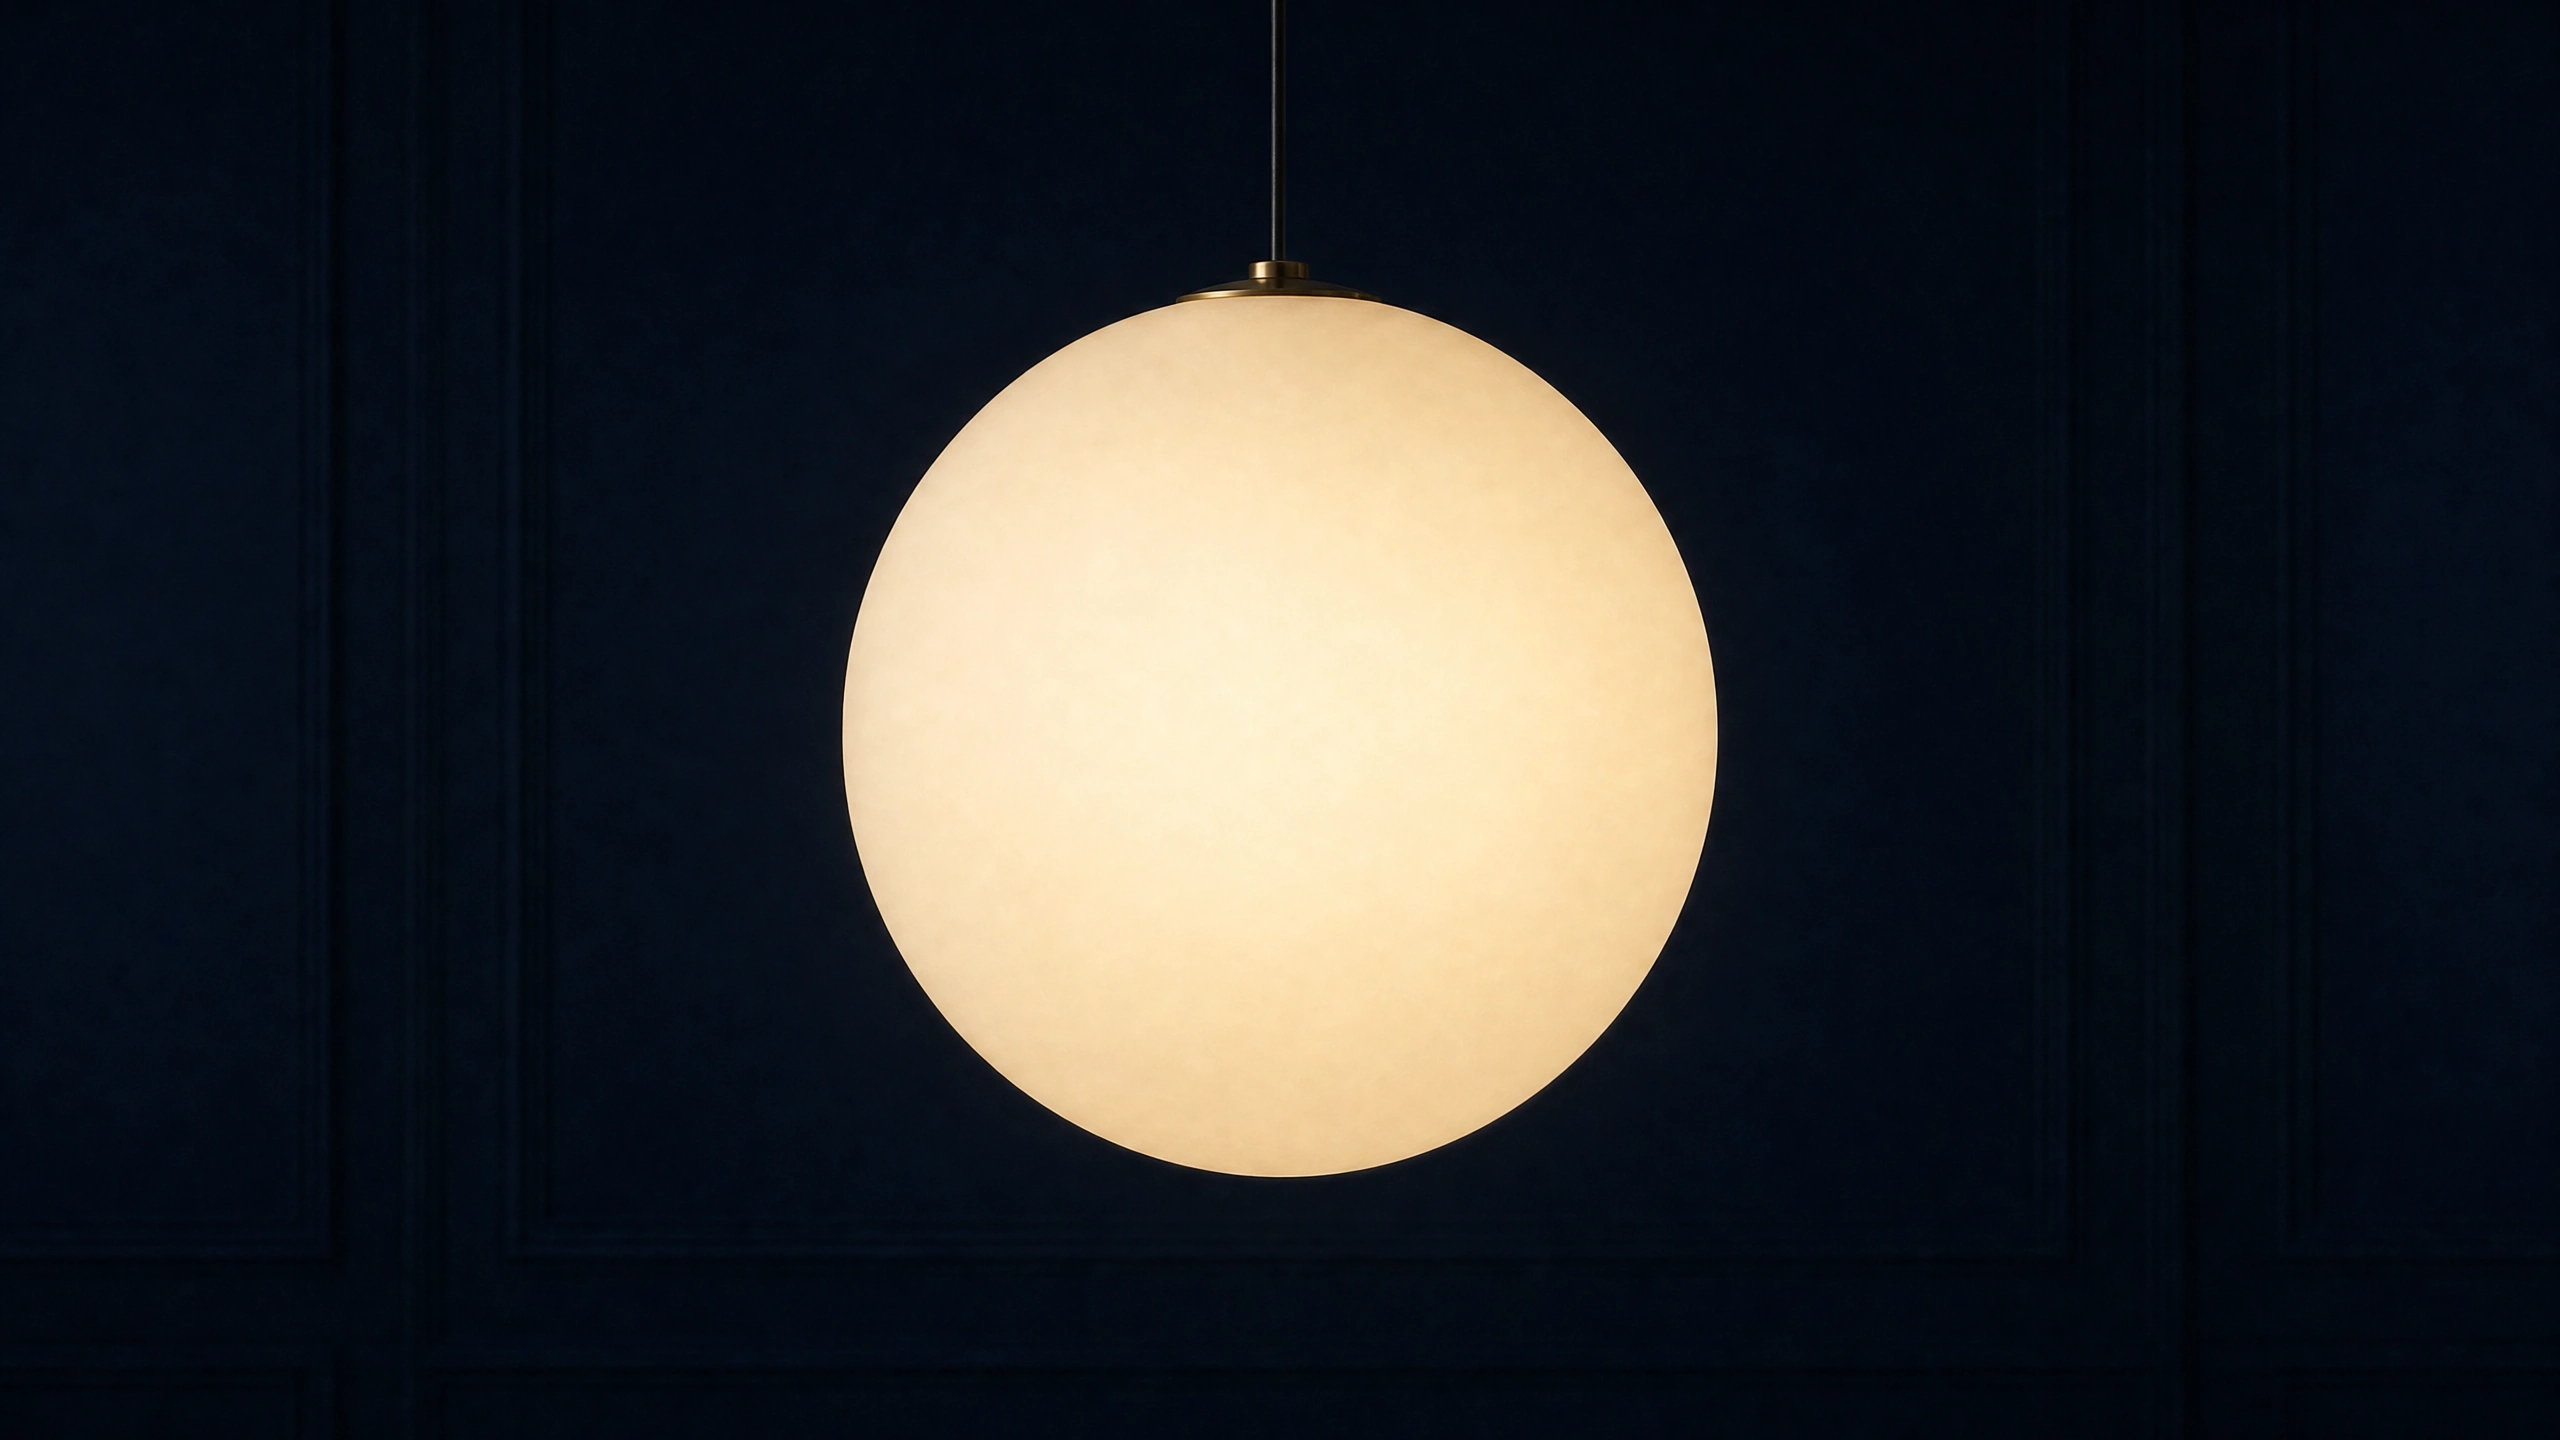
The pendant used the moon image as a reference. It still came out smaller and slightly lower, which required alignment in the edit.
For the purpose of explaining the match cut creation process, start with a straightforward composition containing one clear main subject and keep the framing of the shot as straightforward as possible for the initial setup of two shots. The following is a starting prompt for the first image of the match cut:
“A detailed full moon centred against a deep navy sky. One complete bright circle, generous dark space around it, straight-on composition, no horizon, no lettering. 16:9 landscape frame.”
Then describe the relationship in the second prompt:
“Use the reference image as a composition guide. Replace the moon with one round warm ivory glass pendant light in a dim navy room. Keep the globe close to the moon’s size and position. A thin vertical cord enters from above. Straight-on view, no lettering.”
This pair of images was generated using the same connection. For a start, the new pendant light is smaller than the moon image. The height of the pendant has also been decreased slightly so that it sits lower in the image than the moon.
At this point you can stop and inspect the results. Compare the two images side by side. Is each object complete? Do they have the same general outline? Is one of them vastly brighter than the other? Can you tell that you have been switched to a new object, or has the model tried to continue with the original subject of the first image?
If you are just trying to learn about how to make AI images in order to use them in your video then you can start with this cheat sheet on how to give better image prompts and then read this guide to learning how to generate images with AI in order to practice one step at a time.
Keep the movement simple enough to edit
The source images for these two shots were entered in PromptWise for Kling 3.0 Pro as separate “start” images, with no end frame to be expanded to five seconds of video each at 1080p (no audio generated). The video was to be 1920×1080 pixels and run at 24 frames per second. The requested action in both was very simple in order to edit together in a number of ways later. The background was to remain dark and for there to be only the tiniest amount of haze in the very furthest corners.
For the lamp shot, the motion instruction was essentially this:
“Keep the round pendant light stationary, with the same shape, position and size. Hold the warm light steady. Allow only a little background haze in the far dark corners. No camera movement, zoom, morph or scene change. Leave a stable opening and ending.”
A quiet shot is best to start with, for a first attempt at a cut. Solving the motion, scale and position of the elements in the two shots is challenging enough as it is. If you add a change of zoom and focus as well, you will get a big headache.
Having a still-image reference helps to set up the composition for the video request. Then for the video request, you just specify what will move and what will remain stationary. More on this in the AVB’s guide to writing AI video prompts.
Also, be aware that even if you have asked for a locked camera, this does not necessarily mean that the camera has not moved. The best way to check this is to play back the generated footage, and check for any changes in the object’s shape or for it moving off the center of the frame.
Line up the circles before judging the cut
As before we use a 1920×1080, 24fps timeline for these two shots. You trim your first shot to the point where you want it to end and then select the first frame of your second shot. This second shot is now placed on an upper video track on the very last frame of the first shot.
Lower the upper video layer’s opacity to 50% in the timeline, so you can see both outlines. Then adjust the scale and position of the second shot until the main shape is where you want it in the composition. Finally, turn up the opacity to 100% and delete the temporary overlap to return to a simple cut.
The scaling and positioning of the images shown in the example were specifically adjusted for that example and would not automatically be of use in other projects. As with all other aspects of the idea in the images, the scaling and positioning of that specific example must be evaluated within the context of that example.
Also important to watch is the connection of the pendant’s cord and the background behind it. In the moon image there is no cord or interior background. So the two images to be edited together are graphic representations of two different scenarios. The edit does not have to hide the change to the scene, it is part of the message.
It’s worth remembering that there is no one size fits all length for a concept demo. The first 3 seconds of each of the 2 source clips were joined with a hard cut to create a 6 second video. The timing of the start and end of each clip can be changed as you see fit to achieve your goal with the audience.
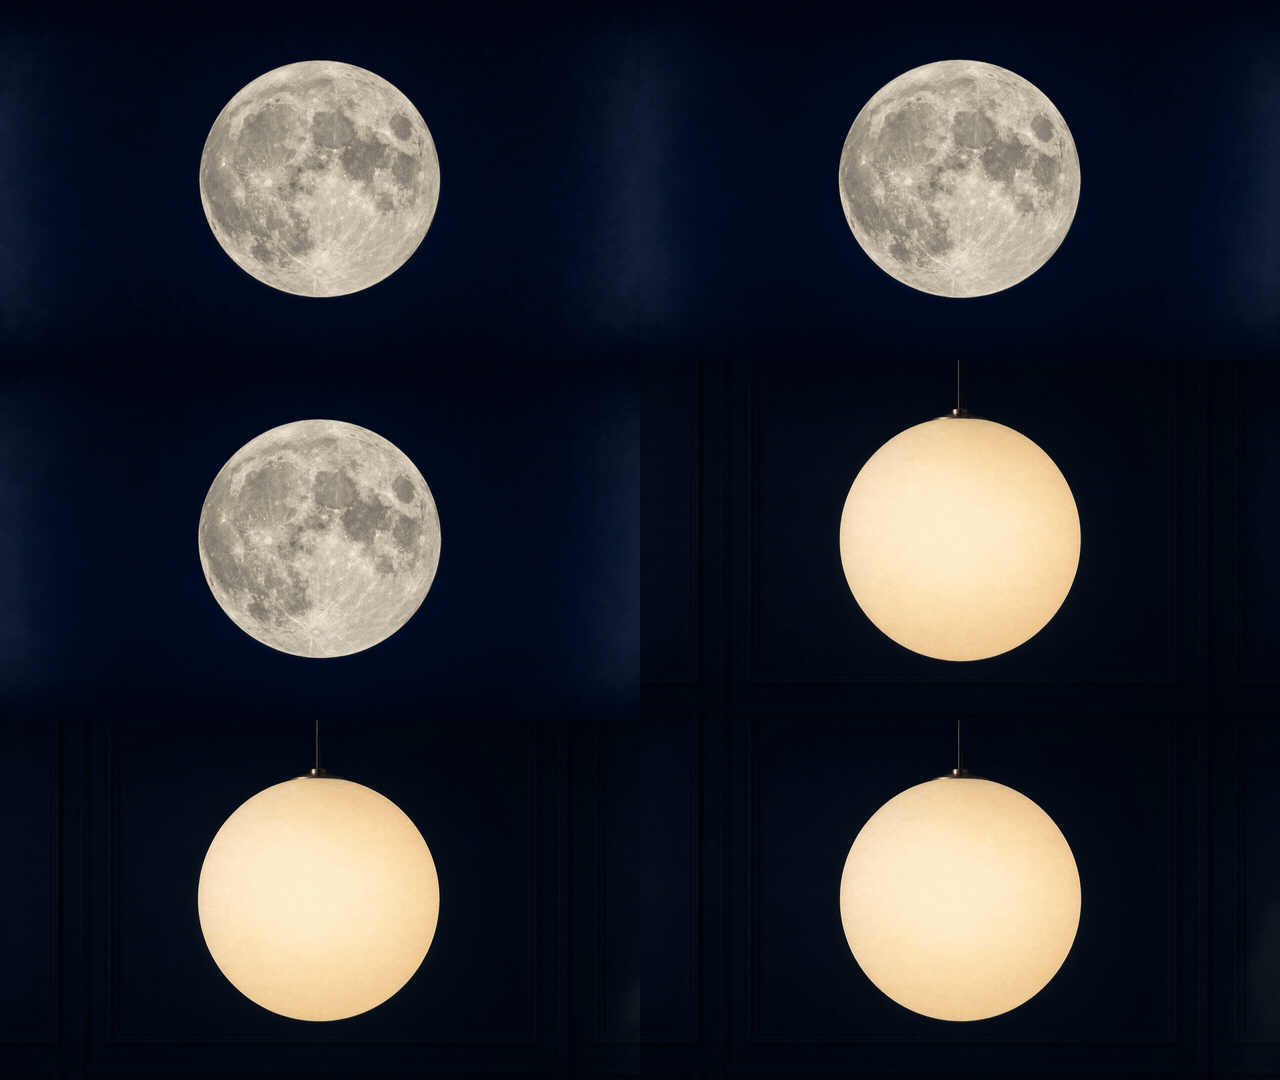
Six-second demonstration export: two Kling 3.0 Pro clips generated through PromptWise, joined with a hard cut at three seconds. Source stills used GPT Image 2.0. No audio was generated. This reduced-resolution animated preview repeats for inspection; the restart is not intended as a seamless loop.
Keep audio separate. The videos here were generated without audio. Get the visuals to work well together first. Then decide whether audio is needed to join the shots together.
Fix the jump that matters
So, if the object in the second image looks like it has jumped to the other side of the frame, then you can start by checking its position. Are you able to resize the object in the second image? Then check its scale. Does it look like it has grown? And finally, check its outline to see if it is still a circle. Check the frame at the edit, not the previous stills.
In addition to the change in object, also be aware of the differences in brightness and color between the two images. For example, the moon is cool and has texture, whereas the pendant and background of the pendant image are warm and smooth. While some difference in lighting between the two images is acceptable, be aware whether the new lighting looks intentional or if it merely looks like you have added two unrelated exposures together.
That single shared characteristic should be evident to the viewer long before reading this much text. Go with a simpler set of images for this first experiment at video editing. One shared characteristic that is quite obvious would be good for a first experiment at editing video.
Check that your edited sequence plays OK at normal playback speed then step frame by frame through the join. Look at the last frame of the first shot and the first frame of the second shot selected. Also check that the chosen crop keeps the subject visible and to sufficient size in the frame to be clear.
Then create a single pair of images, keep as much the same as you like and change the rest. Then join them together with a cut. Try and make the idea in the images the basis of the effect the images are trying to get over, and use the edit to help get the point across.
Sources and visual credits
Adobe — Match-cut types and alignment
Adobe — Cross-cutting and Taylor Kavanaugh quotation
Google — Image-to-video best practices (provider-specific background guidance)
FFmpeg — Filters used for the demonstration edit
Source images were generated through PromptWise with GPT Image 2.0; video clips used Kling 3.0 Pro. The local demonstration was trimmed, scaled, cropped and joined in FFmpeg. No audience or business-performance test is represented.